Install Icinga2 on Debian 13: Complete Monitoring Setup Guide
- Last updated: Jan 20, 2026
Icinga2 is an open-source monitoring system originally developed as a fork of Nagios, with a complete rewrite to improve performance, scalability, and extensibility. It is designed to monitor network services (SMTP, POP3, HTTP, NNTP, ping), host resources such as CPU load, disk usage, and memory usage, as well as infrastructure components including switches, routers, and environmental sensors.
Icinga2 relies on a modular architecture and supports a wide range of plugins, allowing system administrators to monitor custom services and complex infrastructures.
- The Icinga 2 architecture is composed of the following main components:
- Icinga 2 Core – executes monitoring checks and schedules plugins
- Icinga Web 2 – a web-based interface used to visualize monitoring data and system status
- IDO Database Module (ido-pgsql) – stores monitoring data in a PostgreSQL database
In this step-by-step tutorial, you will learn how to install and configure Icinga2 on Debian 13 using a PostgreSQL database backend and the Icinga Web 2 interface. All components are deployed on a single server for simplicity.
Install Icinga2 on Debian 13
As explained earlier, Icinga2 is based on several core components. In this section, you will learn how to install and configure the Icinga 2 core, the database backend, and the Icinga Web 2 interface on a single Debian 13 server.
Install Prerequisites
- Update the APT package index and install the required packages, including the Icinga2 core, Icinga Web 2, the PostgreSQL database server, and monitoring plugins:
root@debian:~# apt update && apt install -y icinga2 icingaweb2 postgresql monitoring-plugins vim-icinga2 sudo php-pgsqlInstall icinga2-ido-pgsql
icinga2-ido-pgsql is the IDO database module that allows Icinga2 to store monitoring data in a PostgreSQL database. This module is required for integrating Icinga2 with Icinga Web 2 using the classic IDO backend.
- Install the
icinga2-ido-pgsqlpackage:
root@debian:~# apt install -y icinga2-ido-pgsql- When prompted, select Yes to enable the
ido-pgsqlfeature for Icinga 2 (PostgreSQL backend):
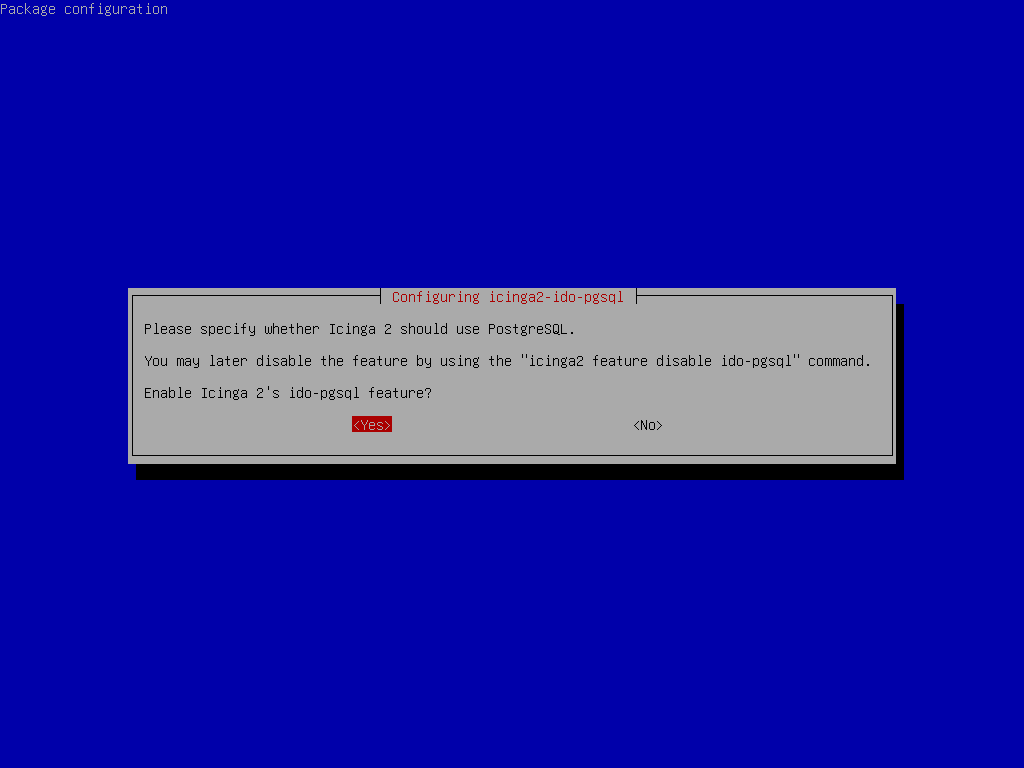
ido-pgsql feature when installing icinga2-ido-pgsql on Debian 13.- When prompted, select Yes to let
dbconfig-commonautomatically configure the PostgreSQL database foricinga2-ido-pgsql.
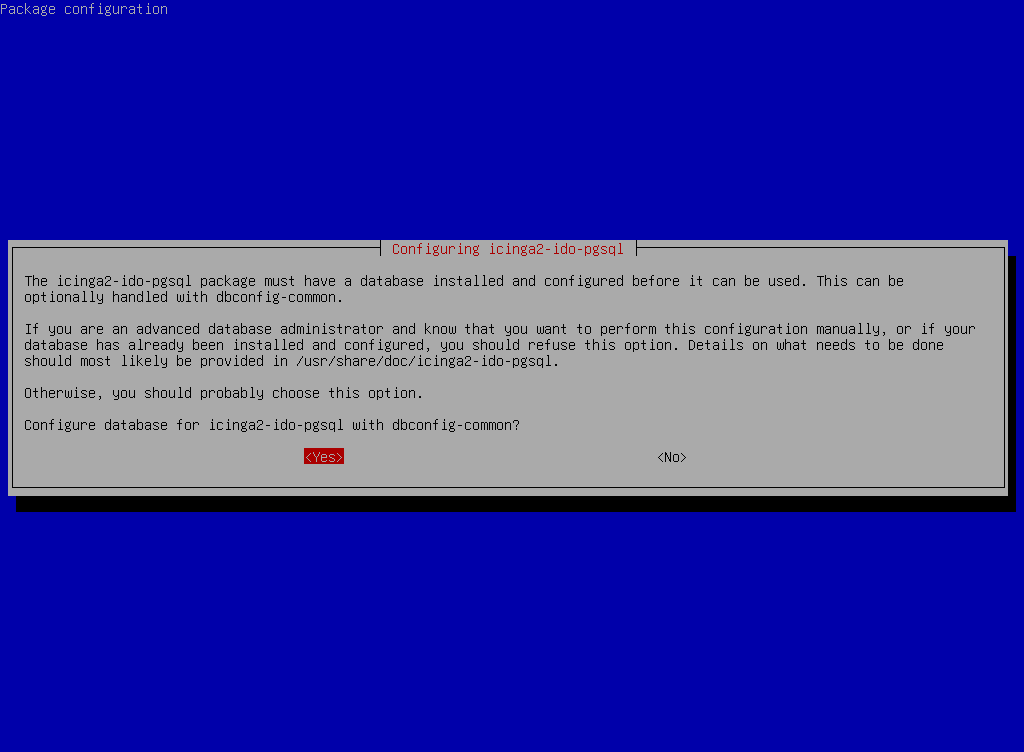
dbconfig-common to automatically configure the PostgreSQL database for Icinga2.- Since the PostgreSQL database is installed on the same server, select localhost as the database host.
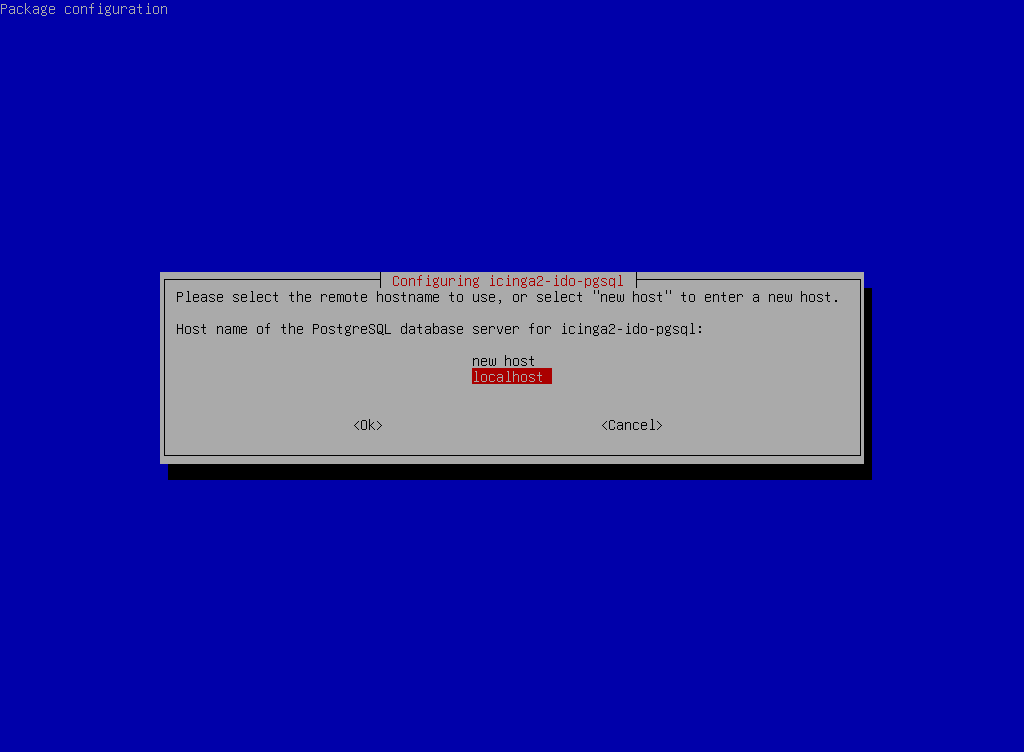
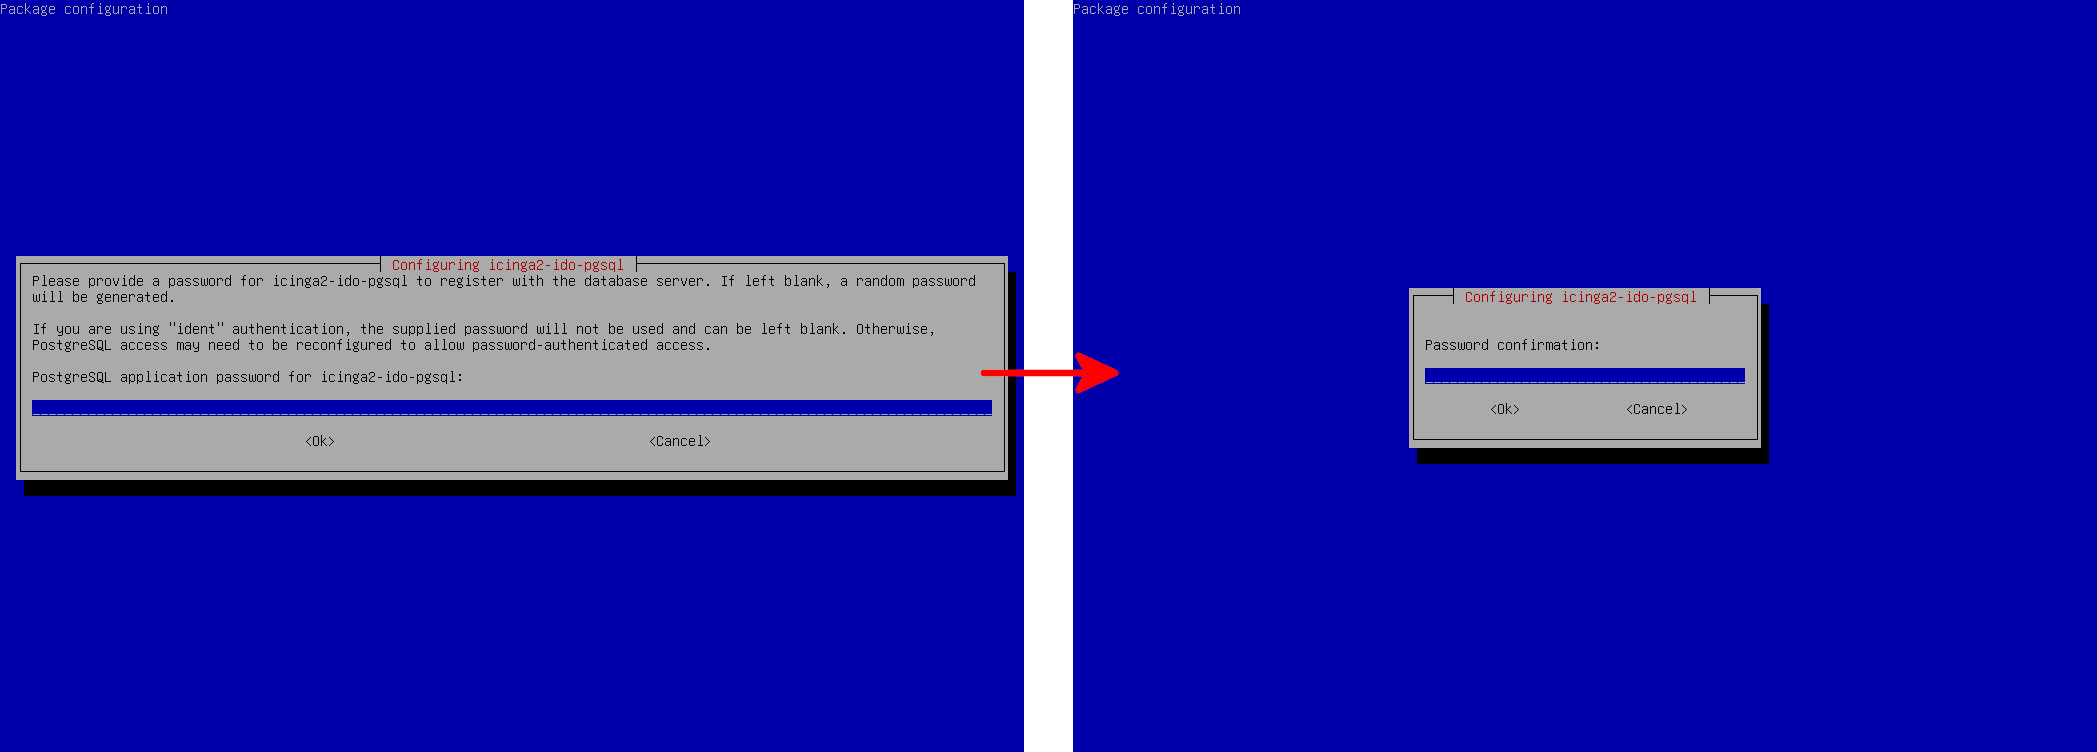
icinga2-ido-pgsql.- Finally, define a password for the
icinga2PostgreSQL user and confirm it when prompted.
- You can find the PostgreSQL connection settings (database, user, host, and password) in
/etc/icinga2/features-available/ido-pgsql.conf:
/**
 * The db_ido_pgsql library implements IDO functionality
 * for PostgreSQL.
 */

library "db_ido_pgsql"

object IdoPgsqlConnection "ido-pgsql" {
  user = "icinga2",
  password = "YESidoPASSWD",
  host = "localhost",
  database = "icinga2"
}
Configure Apache2 for Icinga Web 2
- Edit the Apache configuration file
/etc/apache2/conf-available/icingaweb2.confand add theServerNameandServerAdmindirectives:
Alias /icingaweb2 "/usr/share/icingaweb2/public"
ServerName icinga2.std.rocks
ServerAdmin john@std.rocks

<Directory "/usr/share/icingaweb2/public">
    Options SymLinksIfOwnerMatch
    AllowOverride None

    SetEnv ICINGAWEB_CONFIGDIR "/etc/icingaweb2"

    EnableSendfile Off

    <IfModule mod_rewrite.c>
        RewriteEngine on
        RewriteBase /icingaweb2/
        RewriteCond %{REQUEST_FILENAME} -s [OR]
        RewriteCond %{REQUEST_FILENAME} -l [OR]
        RewriteCond %{REQUEST_FILENAME} -d
        RewriteRule ^.*$ - [NC,L]
        RewriteRule ^.*$ index.php [NC,L]
    </IfModule>

    <IfModule !mod_rewrite.c>
        DirectoryIndex error_norewrite.html
        ErrorDocument 404 /error_norewrite.html
    </IfModule>
</Directory>
Configure Icinga Web 2 Database
In this section, you will create a dedicated PostgreSQL user and database for Icinga Web 2.
- Define a password for the
icingaweb2PostgreSQL user and store it in an environment variable:
root@debian:~# ICINGAWEB2_DB_PASSWORD=icingaweb2PASSWD- Create the
icingaweb2PostgreSQL user using the password stored in theICINGAWEB2_DB_PASSWORDvariable:
root@debian:~# sudo -u postgres psql -c "CREATE USER icingaweb2 WITH PASSWORD '$ICINGAWEB2_DB_PASSWORD';"- Create the
icingaweb2database and seticingaweb2as its owner:
root@debian:~# sudo -u postgres psql -c "CREATE DATABASE icingaweb2 OWNER icingaweb2;"Enable Icinga2 Features and Modules
- Note:
- ido-pgsql: This feature enables the IDO (Icinga Data Output) database backend for PostgreSQL. It allows Icinga2 to store host and service states, check results, notifications, and historical data in the database. This data is required by Icinga Web 2 to display monitoring information.
- command: This feature allows Icinga Web 2 to send commands back to the Icinga2 core, such as acknowledgements, downtimes, and forced checks. Without this feature, the web interface would be read-only.
- monitoring (Icinga Web 2 module): This is the main module used by Icinga Web 2 to display hosts, services, states, metrics, and notifications. It relies on both the IDO database and the Icinga2 API to function correctly.
- Enable the required Icinga2 features and Icinga Web 2 modules:
root@debian:~# icinga2 feature enable ido-pgsql commandroot@debian:~# icingacli module enable monitoring- Enable the Icinga2 API, which is required by Icinga Web 2:
root@debian:~# icinga2 api setup- Restart the Icinga2 and Apache2 services to apply the changes:
root@debian:~# systemctl restart icinga2root@debian:~# systemctl restart apache2Set Up the Icinga Web 2 Interface
The installation process continues through the web interface. Open your browser and connect to the following URL: http://IP_ADDRESS/icingaweb2/setup.
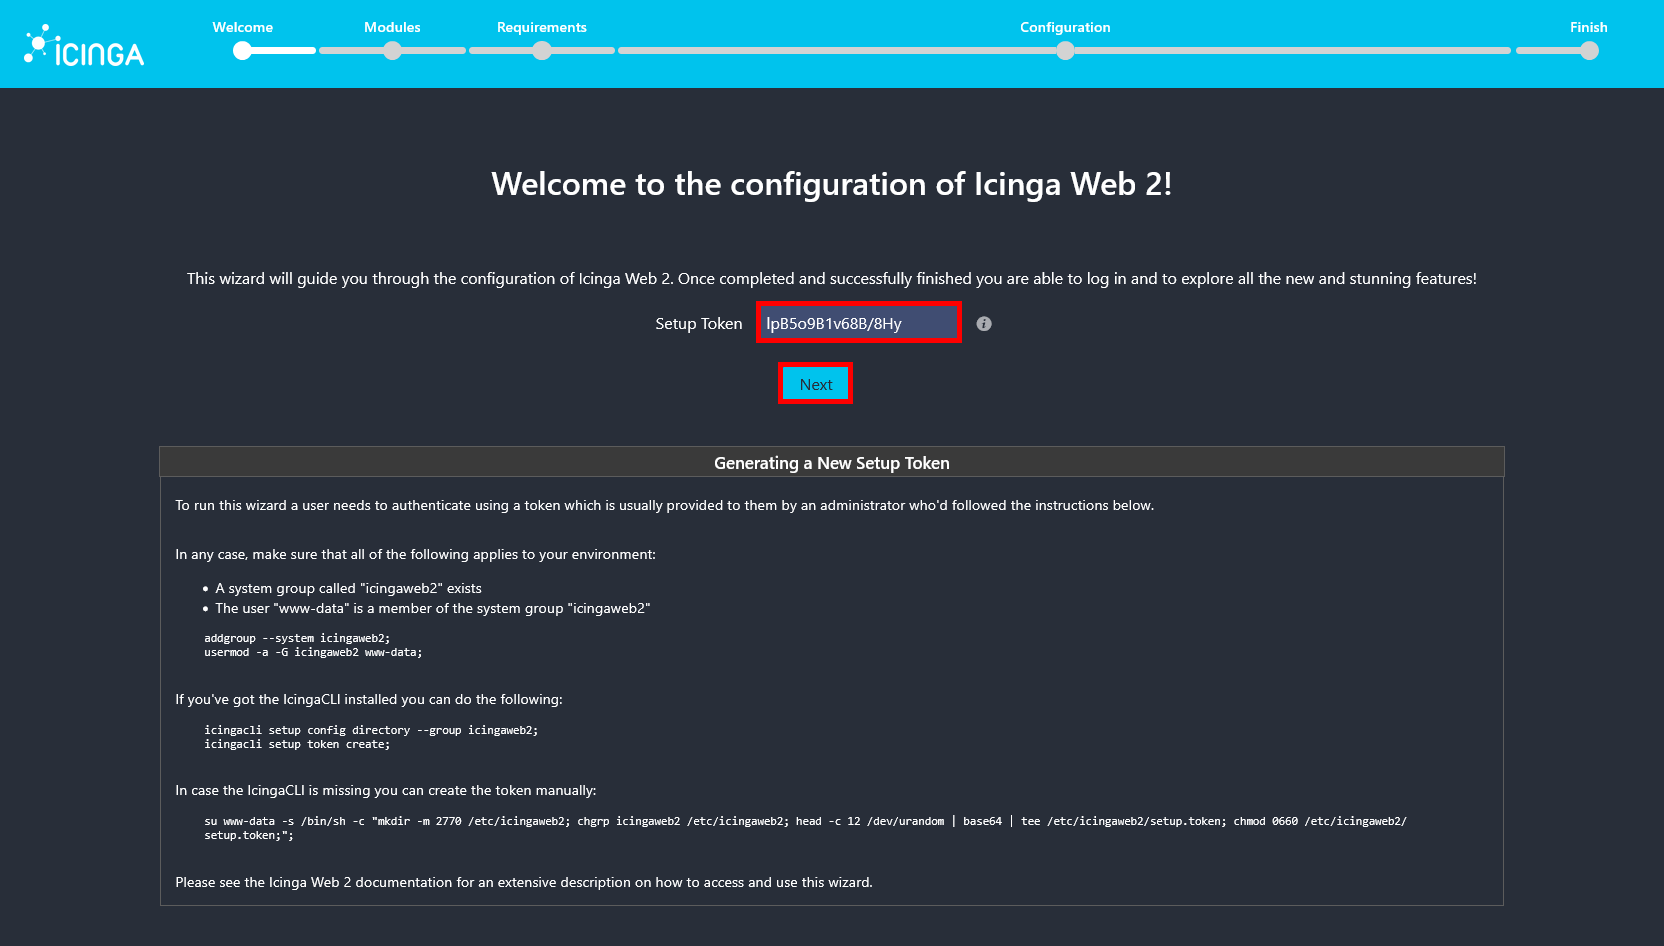
- Generate a random setup token required to access the Icinga Web 2 setup wizard:
root@debian:~# su www-data -s /bin/sh -c "head -c 12 /dev/urandom | base64 | tee /etc/icingaweb2/setup.token; chmod 0660 /etc/icingaweb2/setup.token"- Paste the token code previously generated and click on Next:
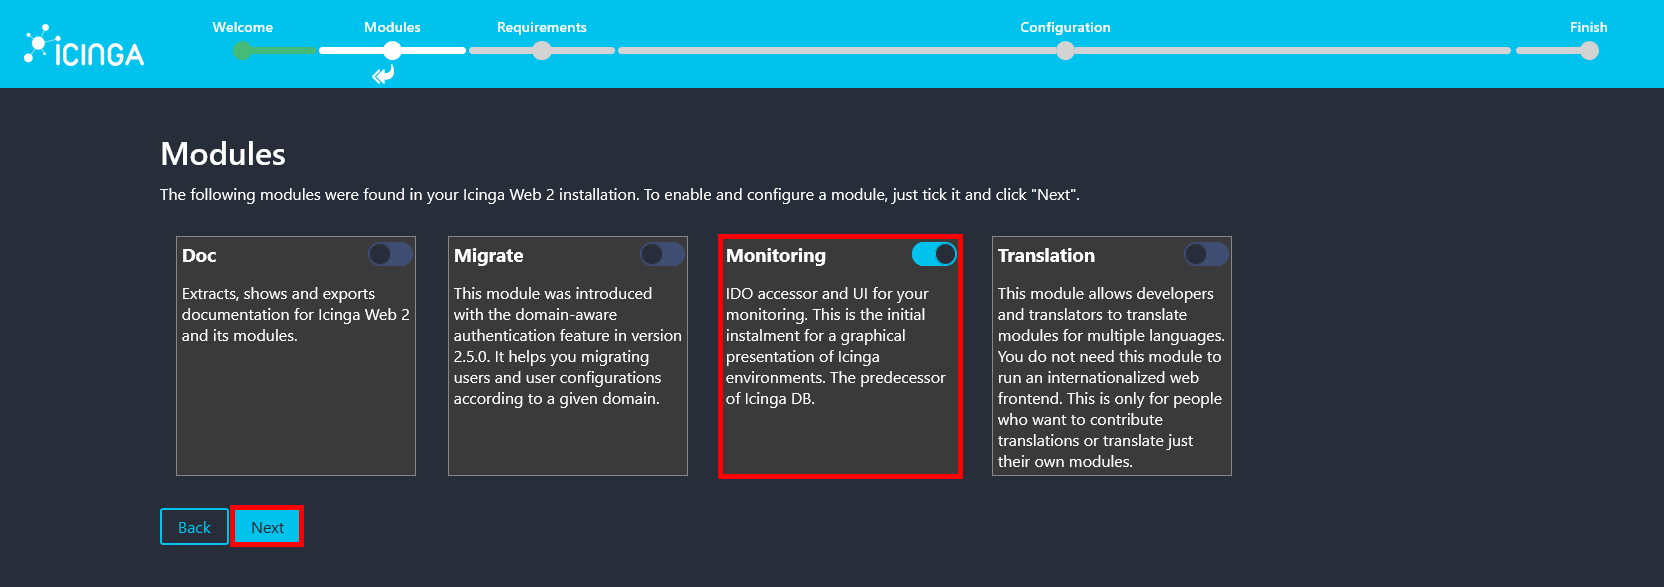
- Make sure the Monitoring module is enabled, then click Next to continue.
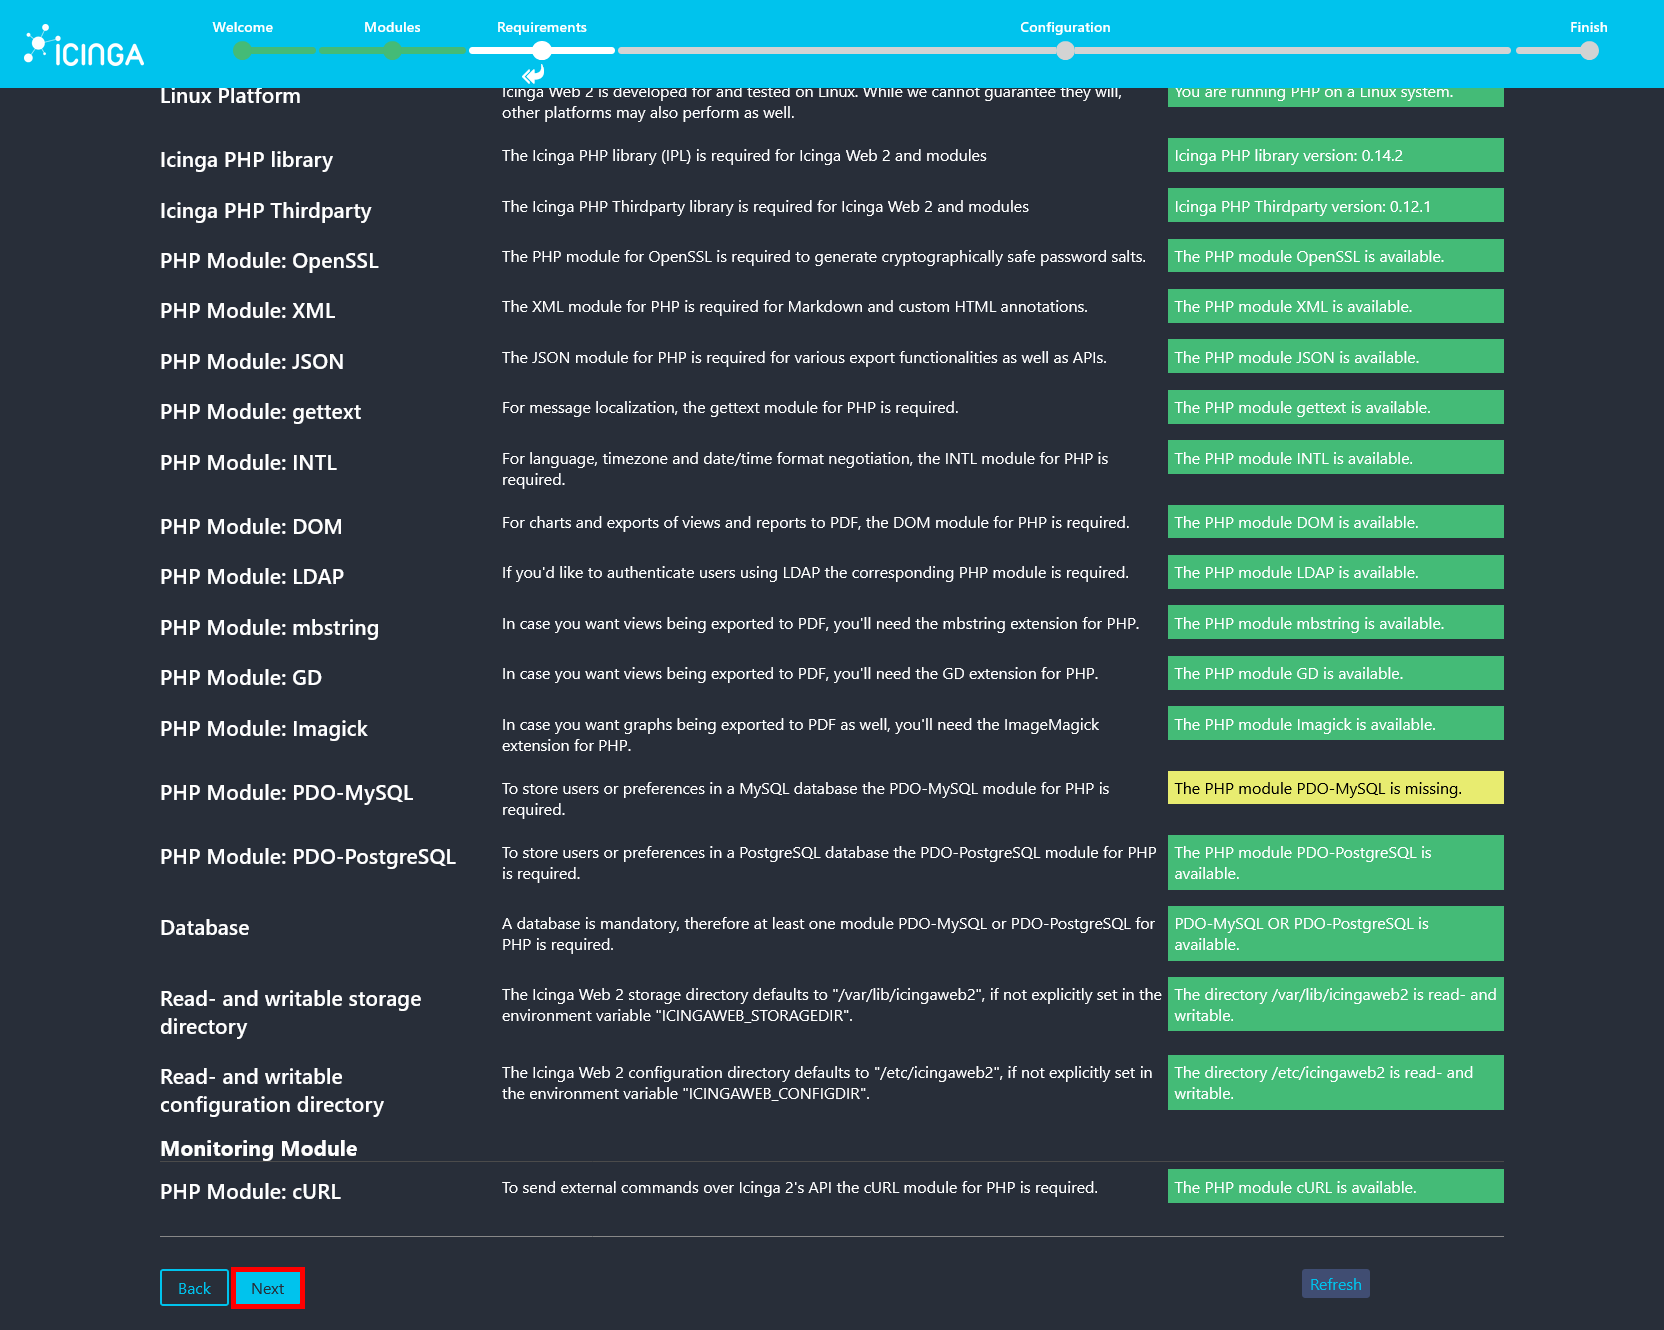
- On the Requirements page, all checks should be satisfied. The only missing dependency may be the PHP module PDO-MySQL, which is not required in this setup since PostgreSQL is used as the database backend.
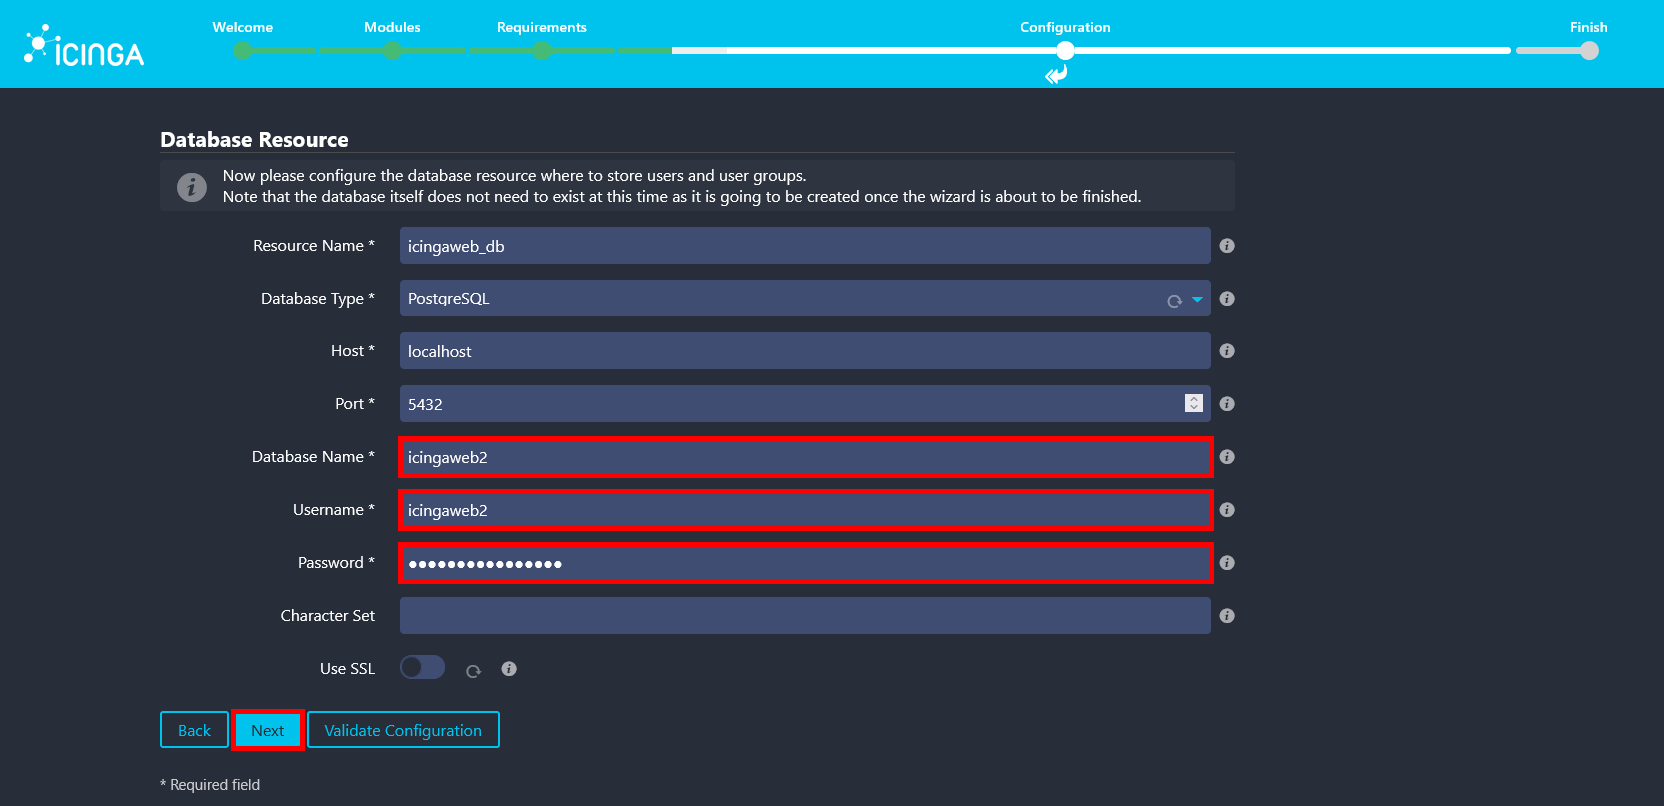
- Select Database as the authentication method to store user accounts and credentials in the PostgreSQL backend.

- Enter the icingaweb2 database name, username, and password that were created earlier for the Icinga Web 2 PostgreSQL backend (use your own password).
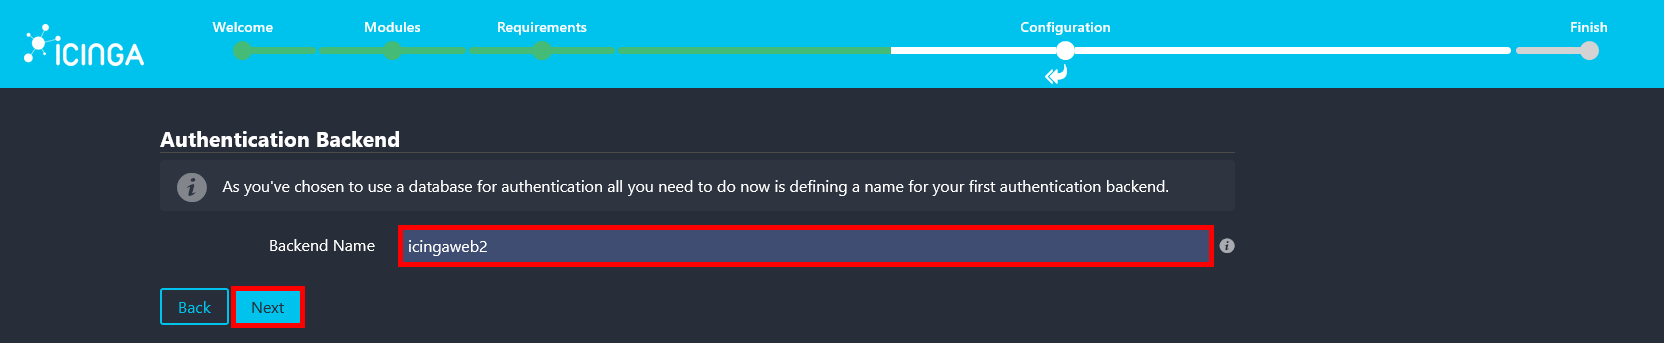
- Confirm the authentication backend name, which should already be set to icingaweb2, then click Next.
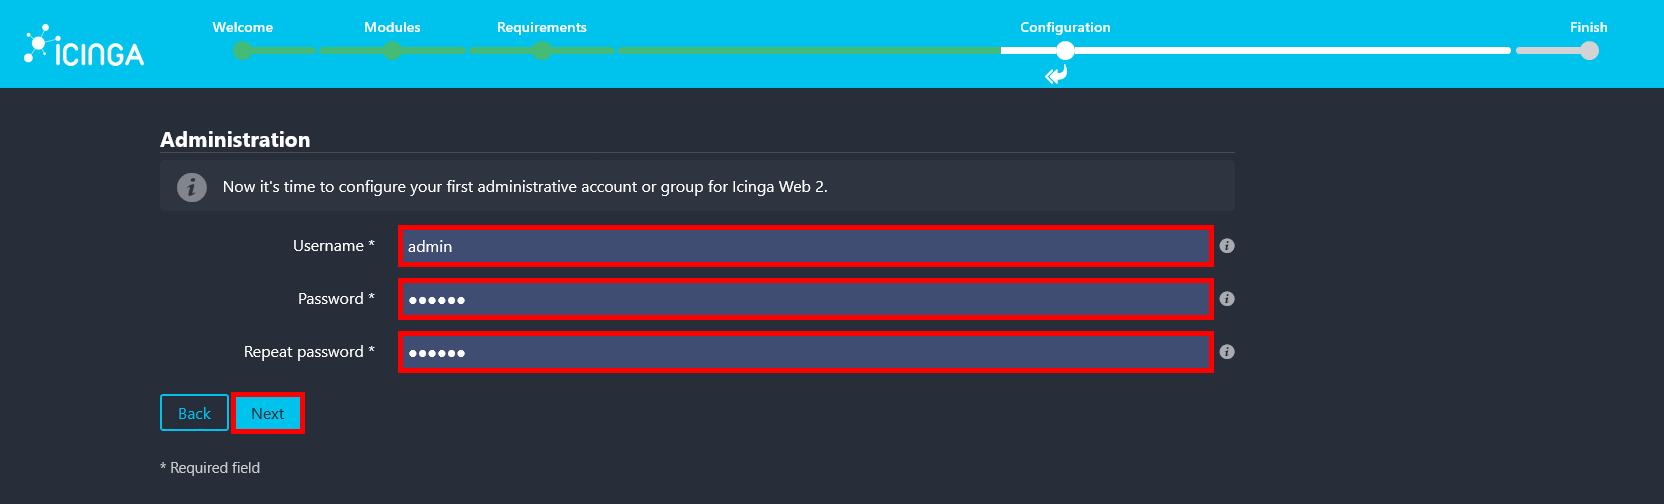
- Create an administrator account by defining a username and password that will be used to log in to the Icinga Web 2 interface.
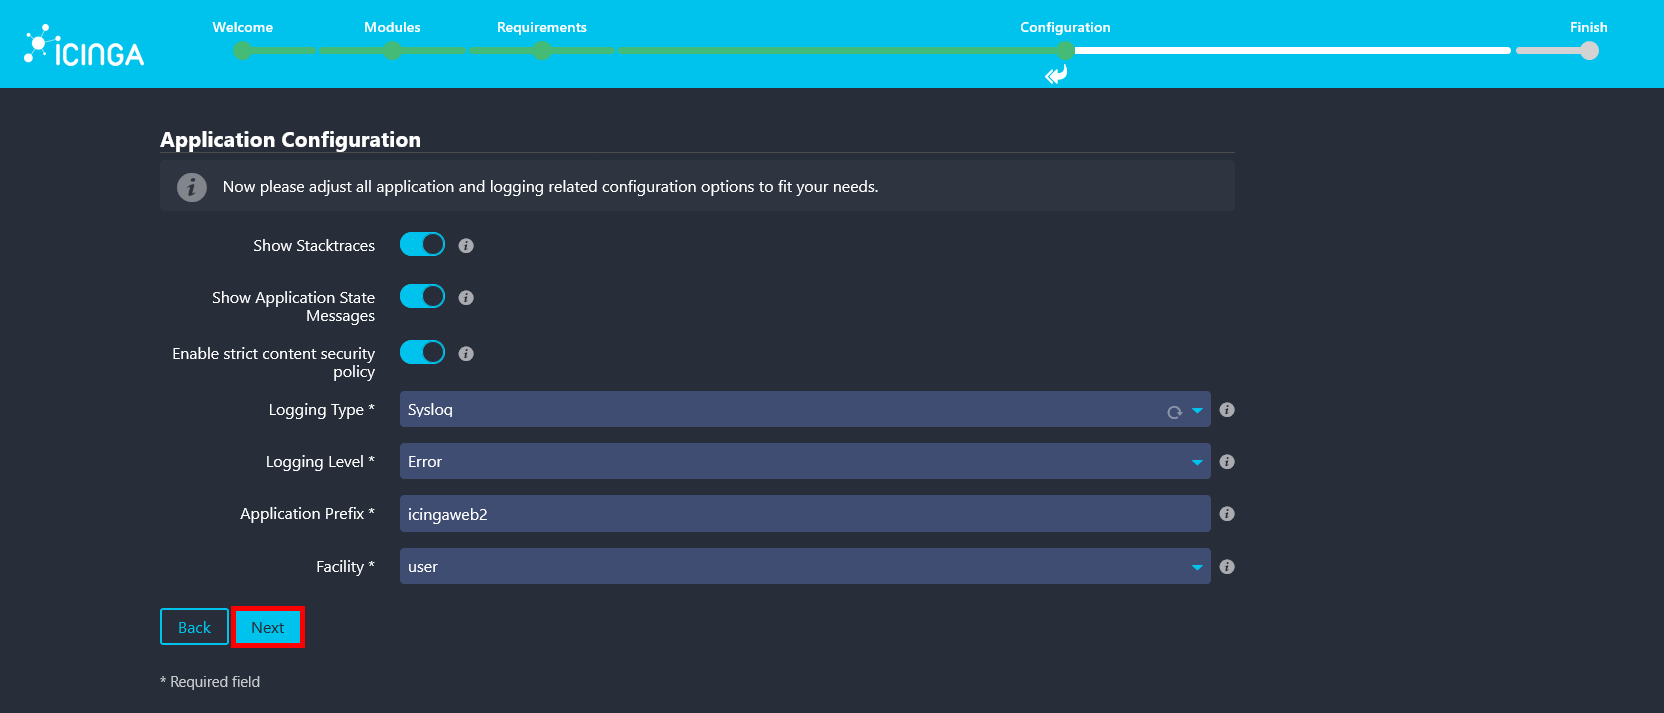
- Review and adjust the application and logging settings according to your environment, then click Next to continue.
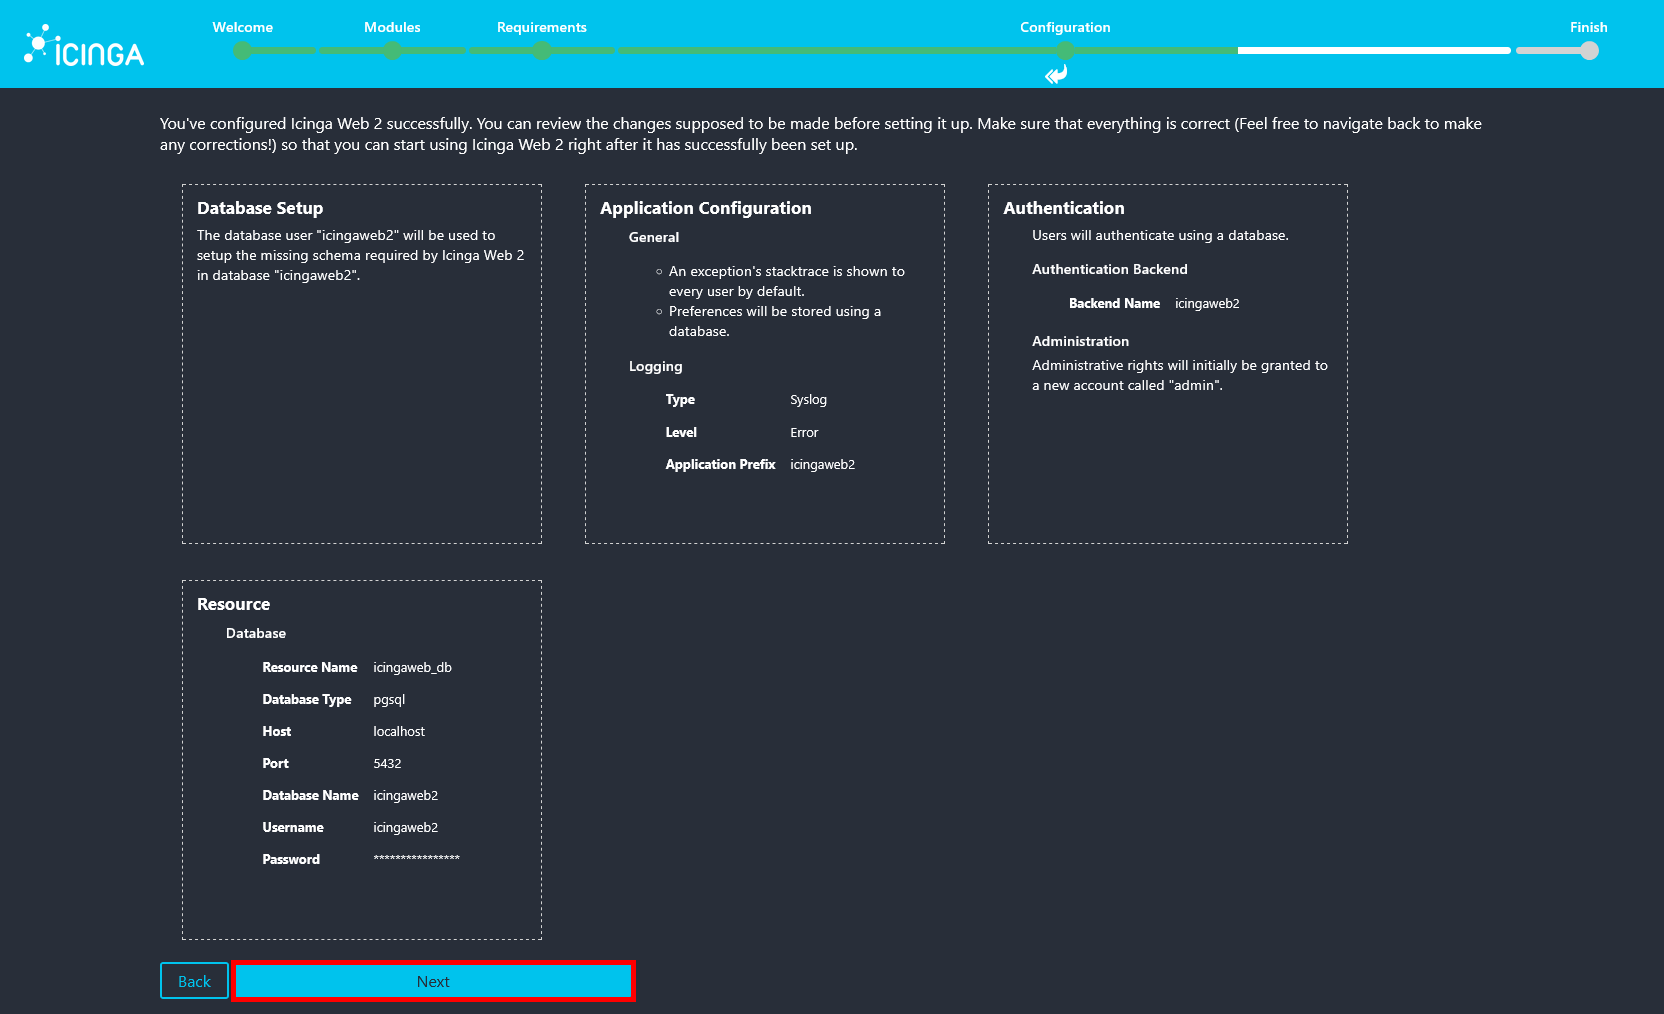
- Review the applied Icinga Web 2 configuration summary, then click Next to proceed.
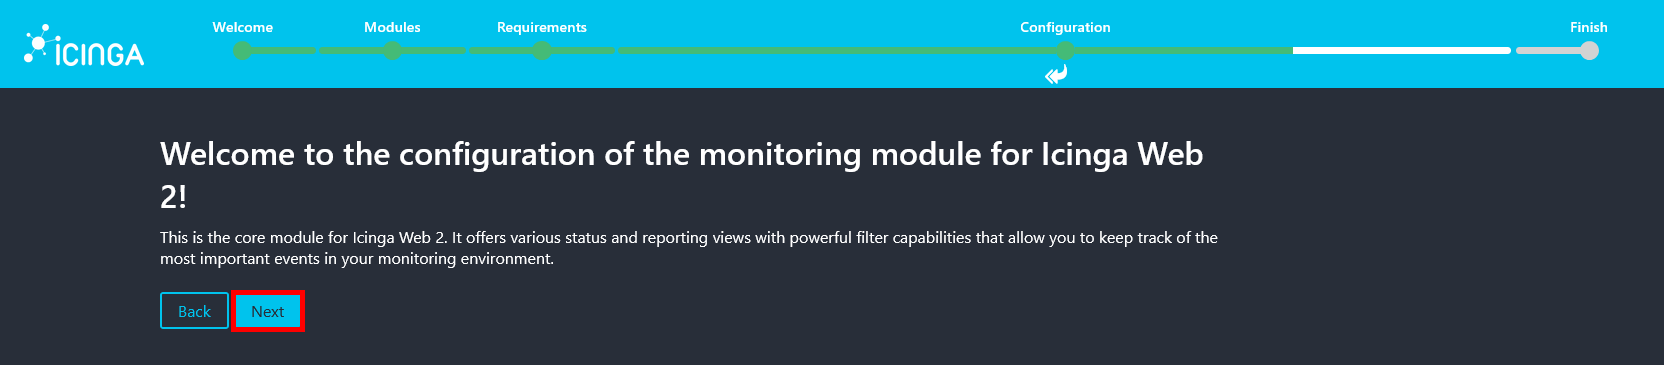
- Click Next to start configuring the Icinga2 monitoring module.
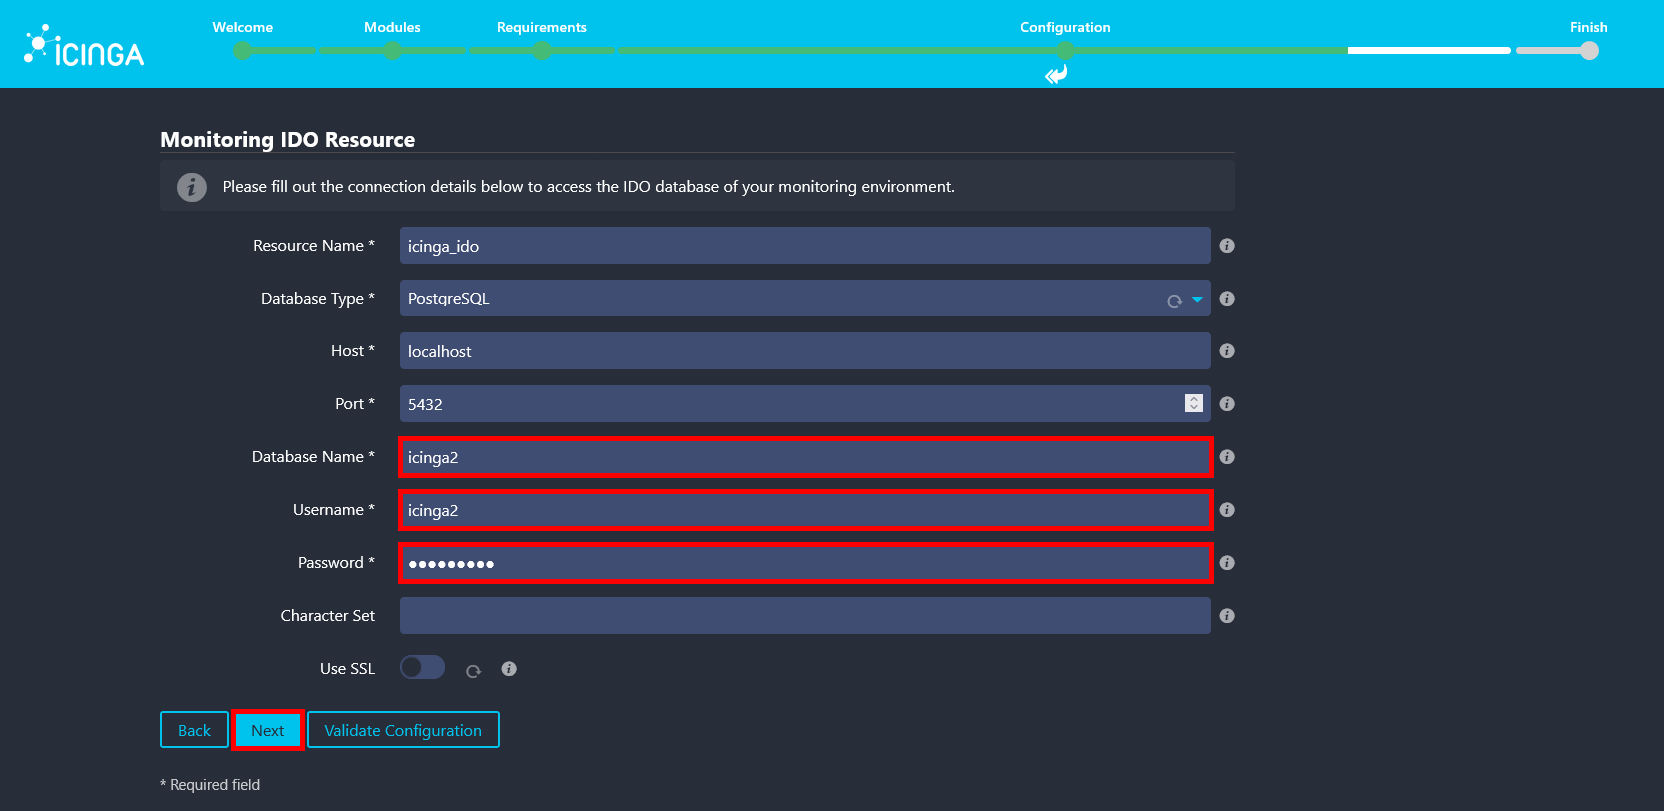
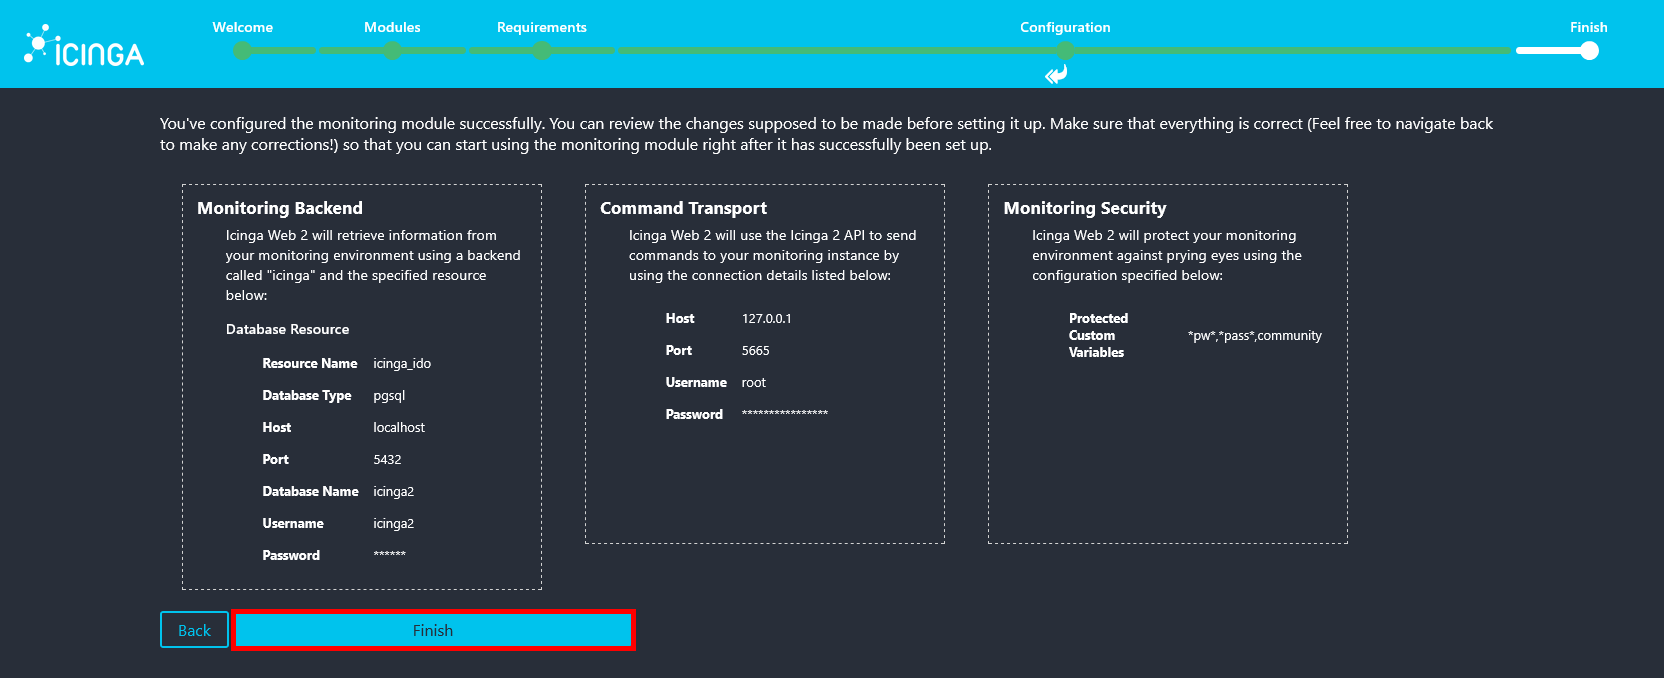
- Enter icinga2 as the database name and username, and use the password defined during the installation of the
icinga2-ido-pgsqlpackage. These credentials can be found in the/etc/icinga2/features-available/ido-pgsql.conffile.
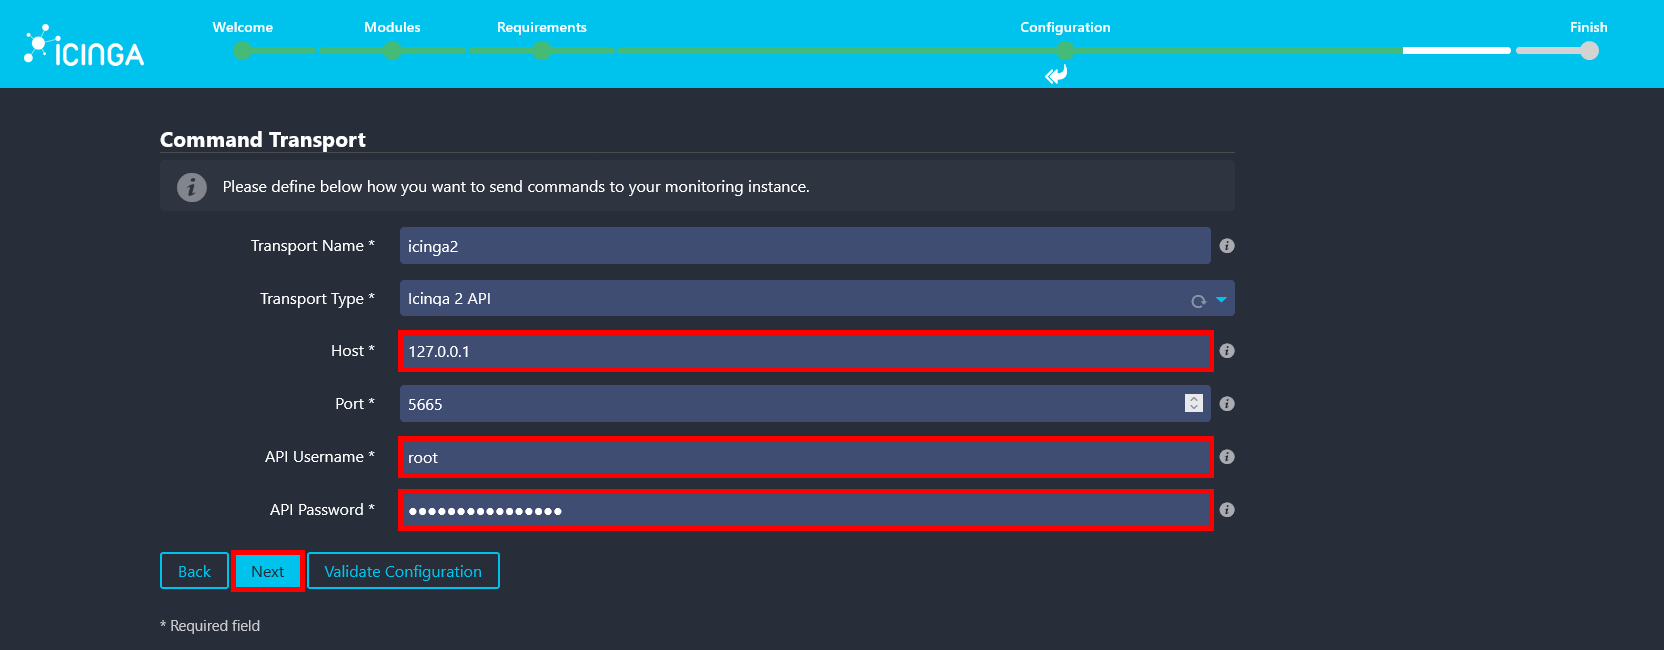
- Since all components are installed on the same server, use
127.0.0.1as the API host. For the API username and password, use the credentials defined in/etc/icinga2/conf.d/api-users.conf.
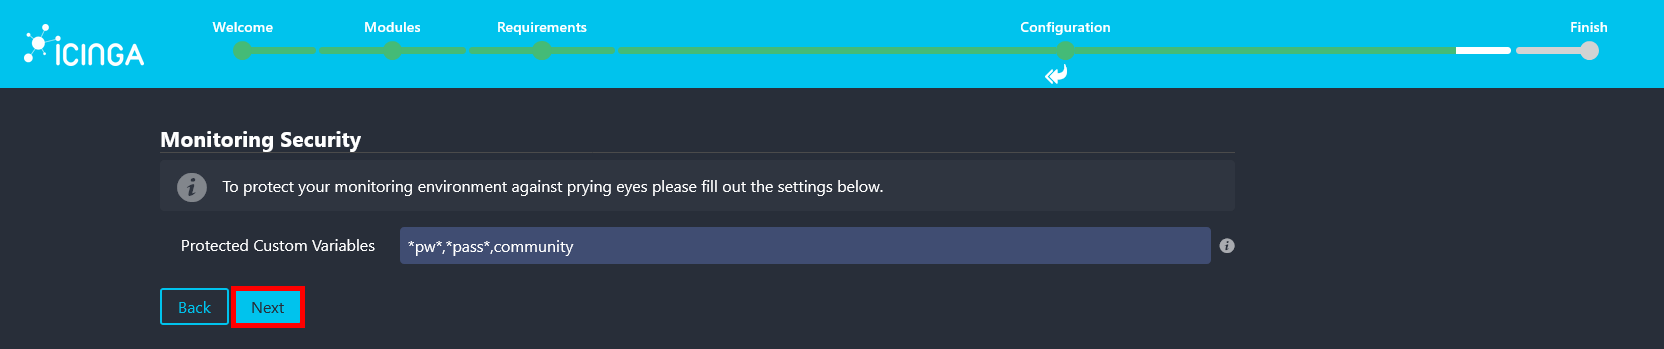
- Keep the default settings on the Monitoring Security page, then click Next to continue.
- Review the monitoring configuration summary and click Finish to apply the settings.
- A Congratulations message is displayed, indicating that the installation is complete. Click Login to Icinga Web 2 to access the web interface.
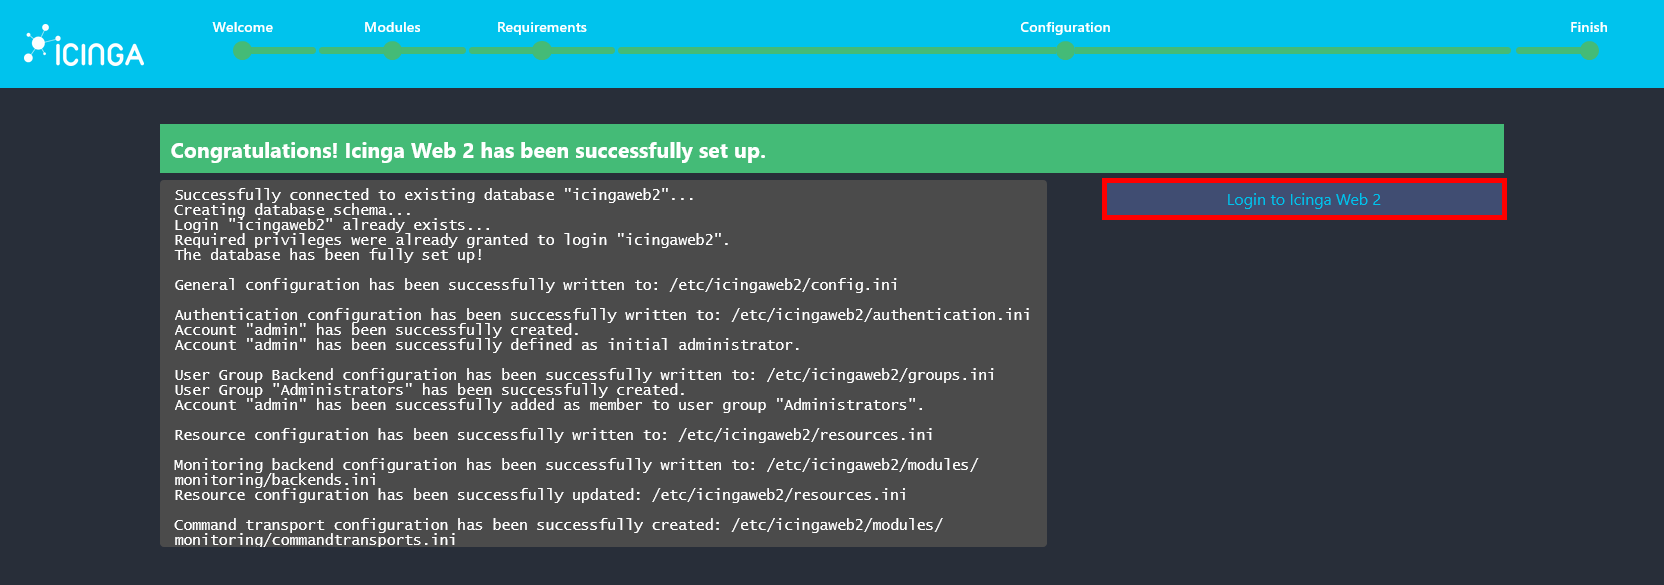
- Finally, log in using the administrator account created during the setup process to access Icinga Web 2.

You have now successfully installed and configured Icinga2 with Icinga Web 2 on Debian 13. You can start monitoring hosts and services, configure notifications, and extend the platform using additional modules and plugins.