How to Install and Configure I2P on Windows 11
- Last updated: Aug 11, 2026

I2P (Invisible Internet Project) is an open-source project designed to provide a secure and anonymous communication layer over the Internet. It helps protect user privacy and resist censorship by encrypting traffic and routing it through a decentralized network of I2P routers.
This anonymous network layer supports several services, including web browsing, P2P file sharing, and BitTorrent.
In this guide, you will learn how to install and configure I2P on Windows 11, including the initial setup, network configuration, port forwarding, Windows Firewall rules, and Firefox proxy settings.
Install I2P on Windows 11
Before installing I2P on Windows 11, make sure that Mozilla Firefox and a compatible Java Runtime Environment (JRE) are installed on your system. The procedure below uses Eclipse Temurin from Adoptium.
Install Java
I2P requires a compatible Java Runtime Environment (JRE) to run. Although the I2P project also provides an all-in-one Windows bundle that includes Java, this guide uses the standard installer and installs Java separately beforehand.
Rather than using Oracle Java, I recommend Eclipse Temurin from Adoptium (https://adoptium.net/). It is free, open source, and maintained by the Eclipse Adoptium project under the Eclipse Foundation.
- Visit the official Adoptium website at https://adoptium.net/ and download Eclipse Temurin for Windows x64:

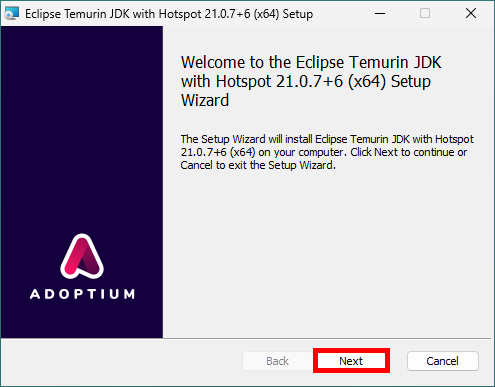
- Run the Eclipse Temurin JDK installer and click Next to start the setup:
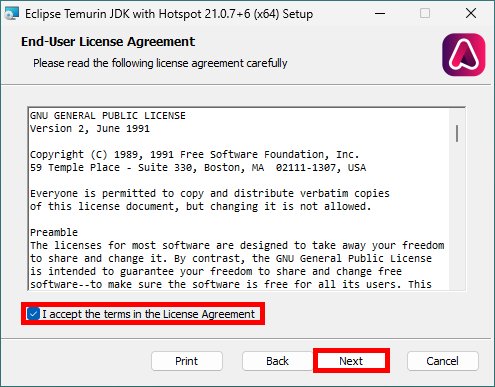
- Accept the license agreement, then click Next:
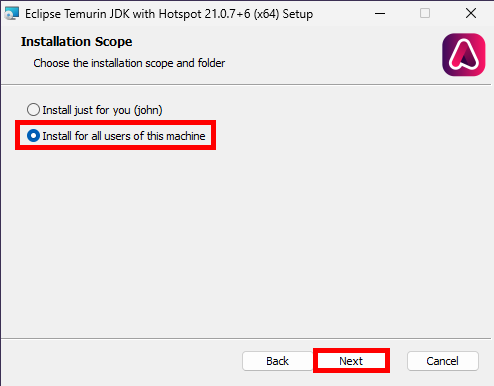
- Select Install for all users of this machine, then click Next:
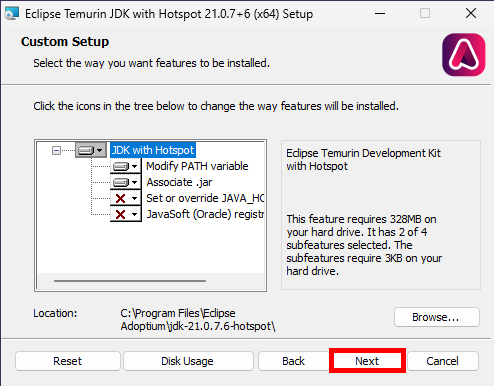
- Keep the default installation options, then click Next:
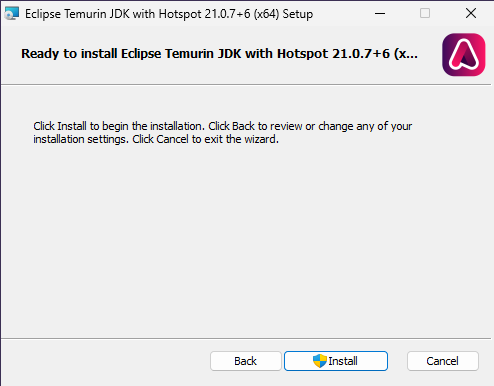
- Click Install to begin the installation of Eclipse Temurin JDK:
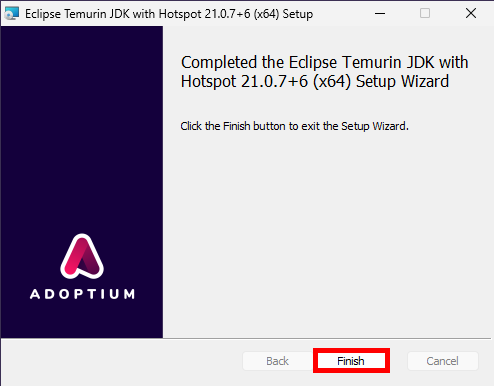
- When the installation is complete, click Finish to close the setup wizard:
Install I2P
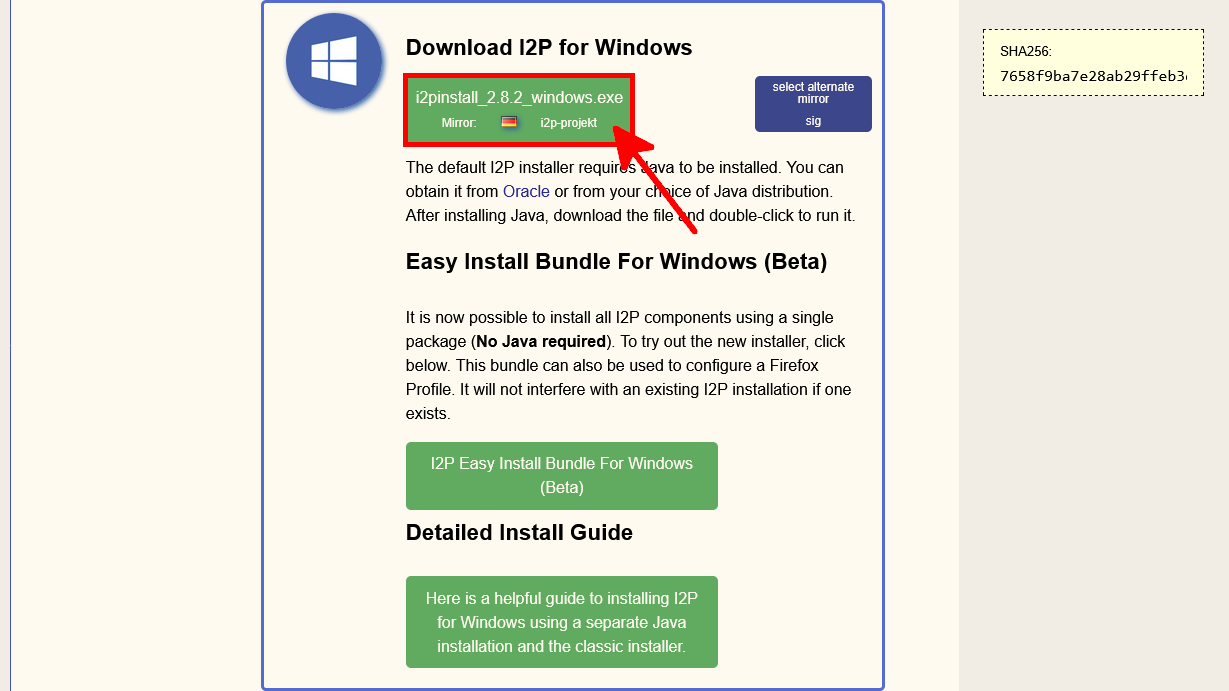
- Go to the official I2P download page at https://geti2p.net/en/download and download the Windows installer:
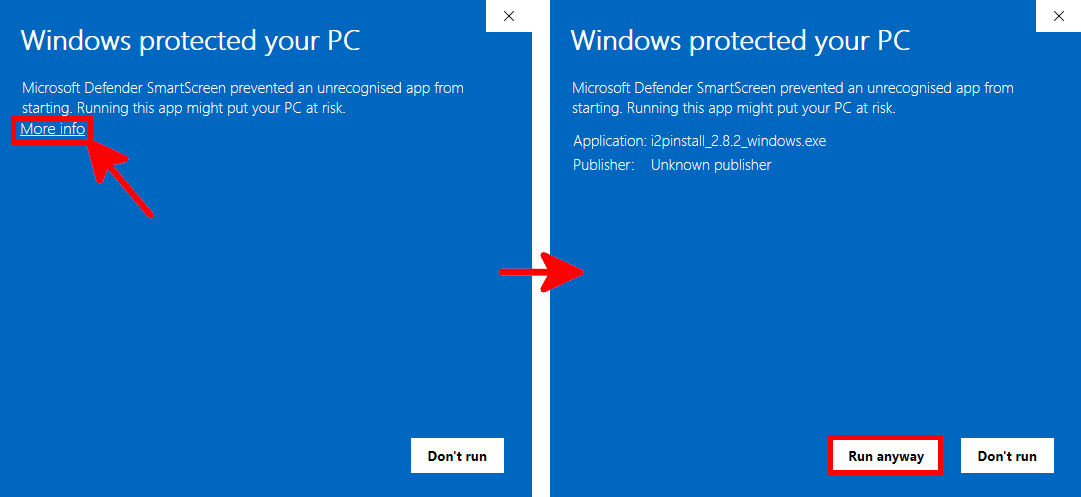
- Run the downloaded I2P installer. If Windows Defender SmartScreen displays a warning, click More info, then Run anyway:
- Select your preferred language, then click OK to continue the installation:

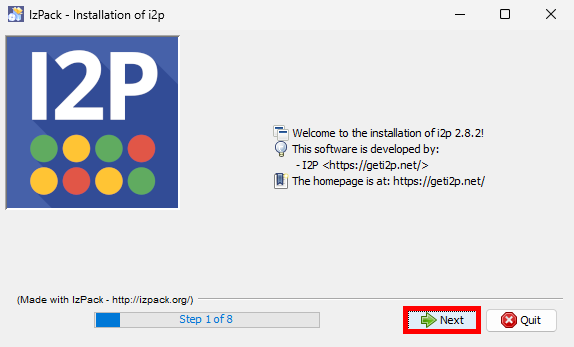
- On the welcome screen, click Next to continue the installation:
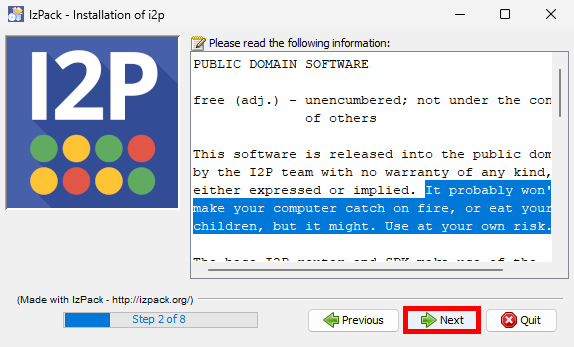
- Read the information note if you wish, then click Next to continue the installation:
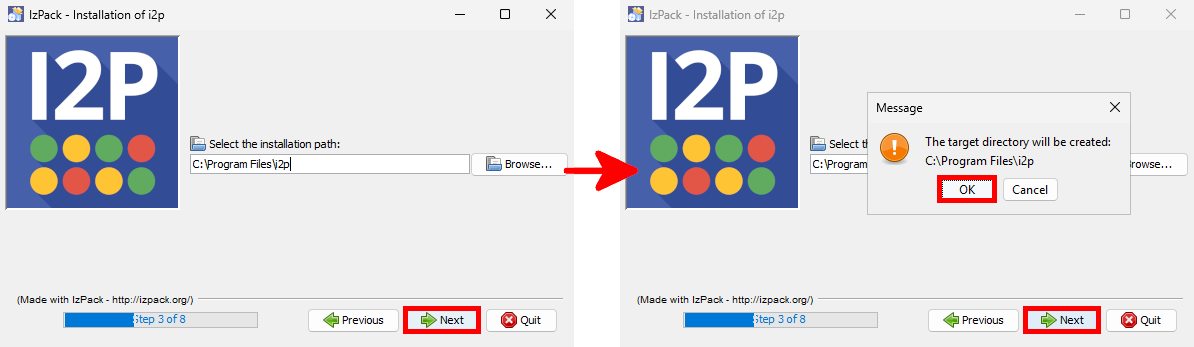
- Select the installation path, confirm the directory creation if prompted, then click Next:
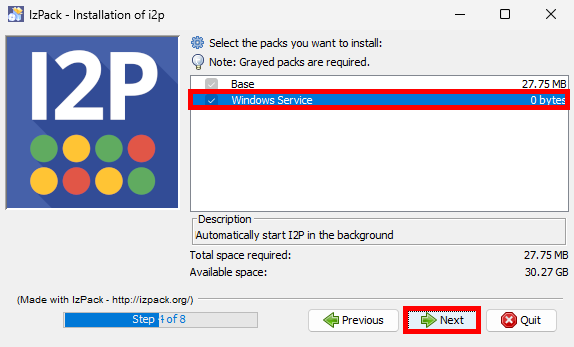
- Select the Windows Service option so that I2P can start automatically in the background, then click Next:
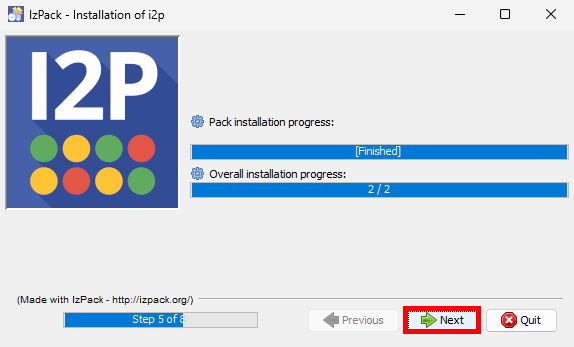
- Once the installation process is complete, click Next to continue:
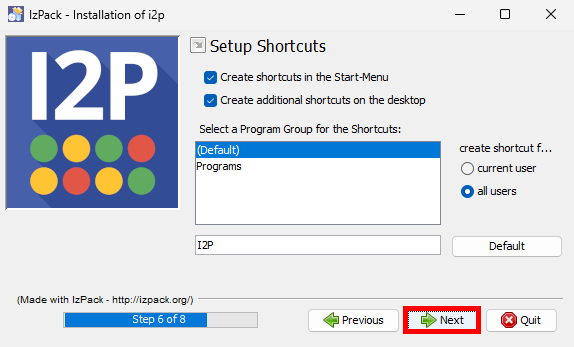
- Keep the default shortcut options, then click Next to continue:
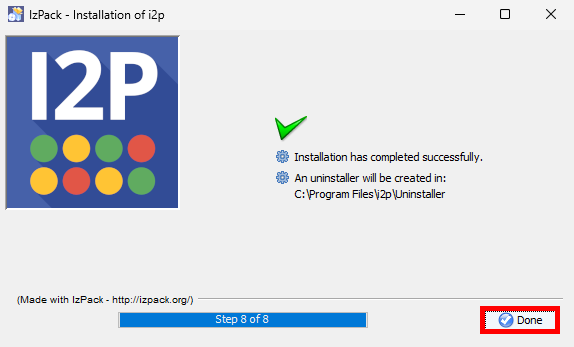
- Click Done to close the installer and complete the I2P setup:
Post-Installation Configuration
After installing I2P, a few additional settings are required to ensure proper network connectivity. In this section, we will configure the I2P service, network ports, port forwarding, and Windows Firewall rules.
Service Check
- Open the Windows Services console to verify that the I2P Service is running:
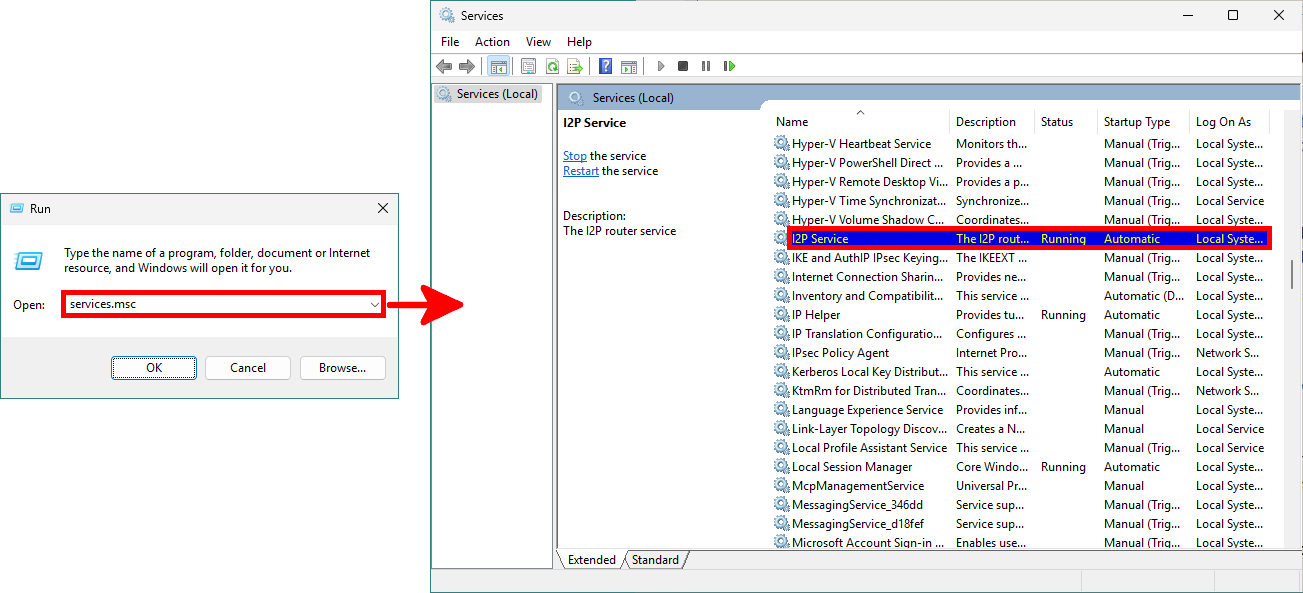
- Alternatively, use
PowerShell:
PS C:\> Get-Service -Name I2P

Status   Name               DisplayName
------   ----               -----------
Running I2P I2P Service- If the service is not running, start it with:
PS C:\> Start-Service -Name I2PInitial Configuration
- Open the I2P Router Console from the desktop shortcut, or enter
http://127.0.0.1:7657in Firefox:
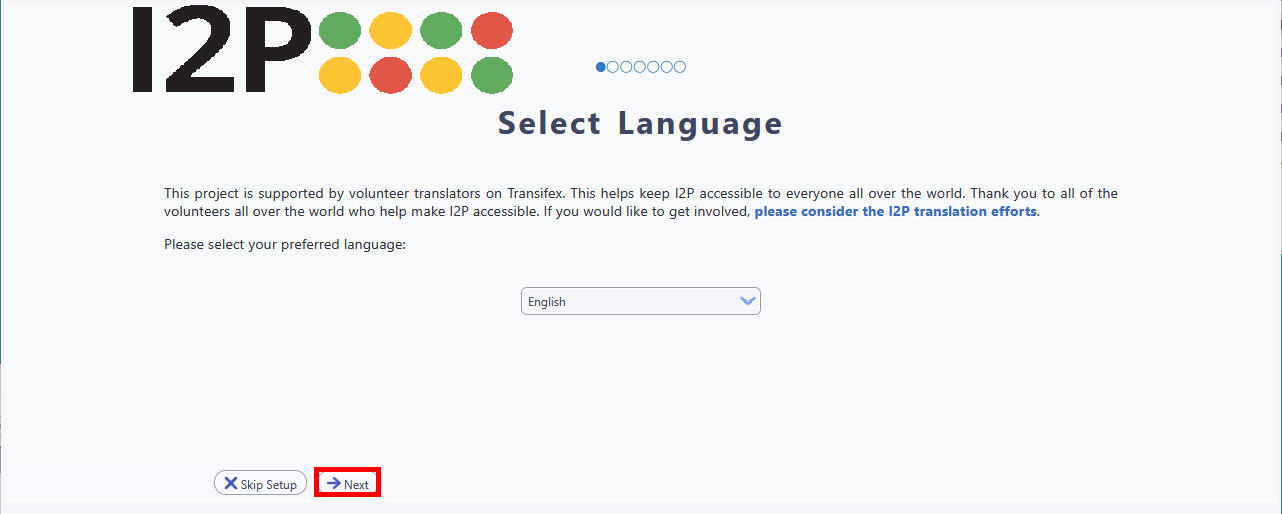
- Follow the setup wizard, select your preferred language, then click Next:
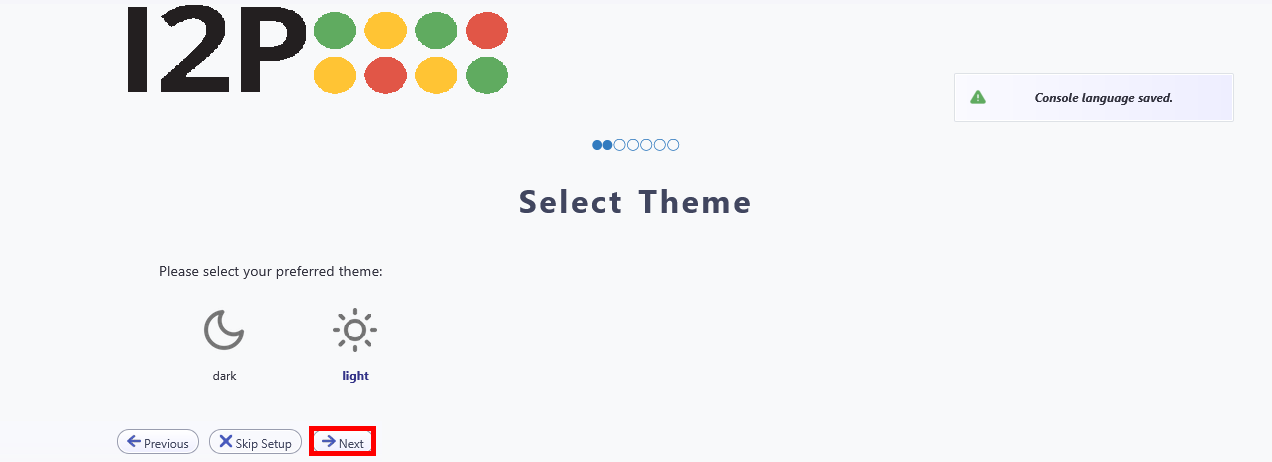
- Select your preferred theme, then click Next to continue:
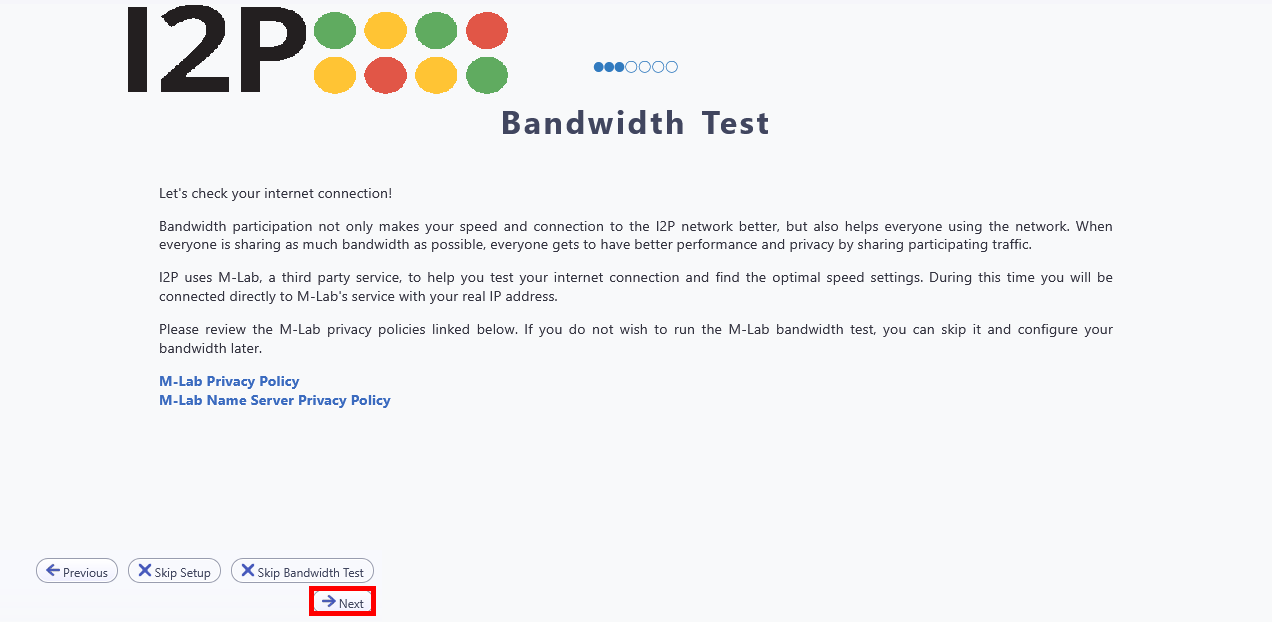
- Run the bandwidth test, then click Next to continue:
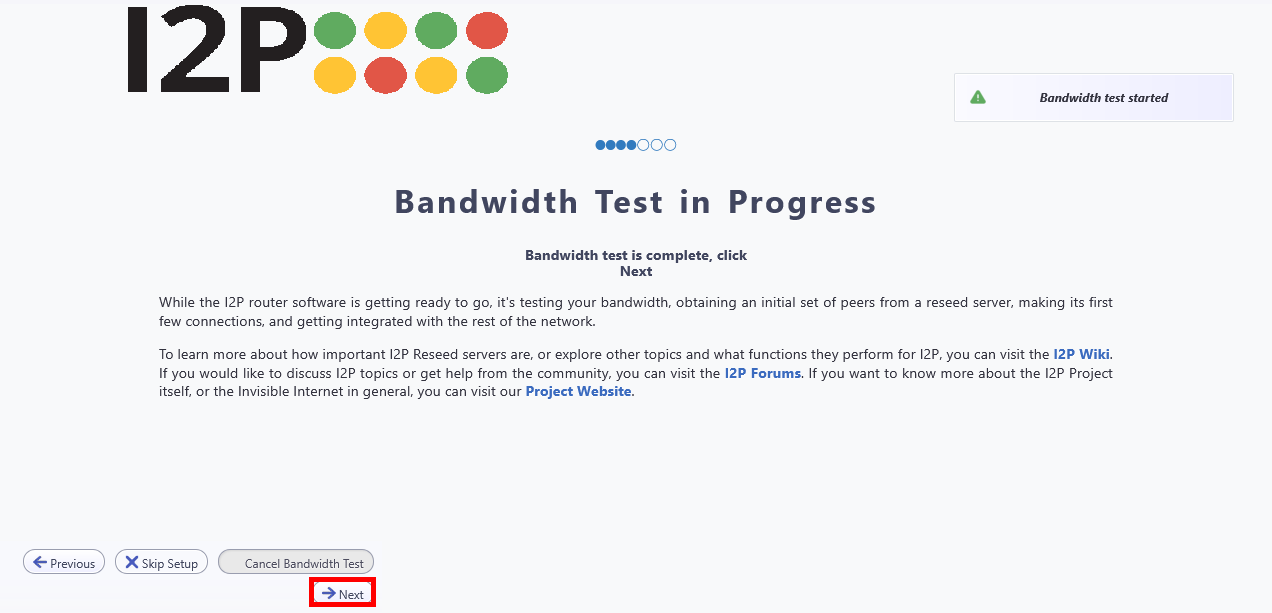
- Wait for the bandwidth test to complete, then click Next to continue:
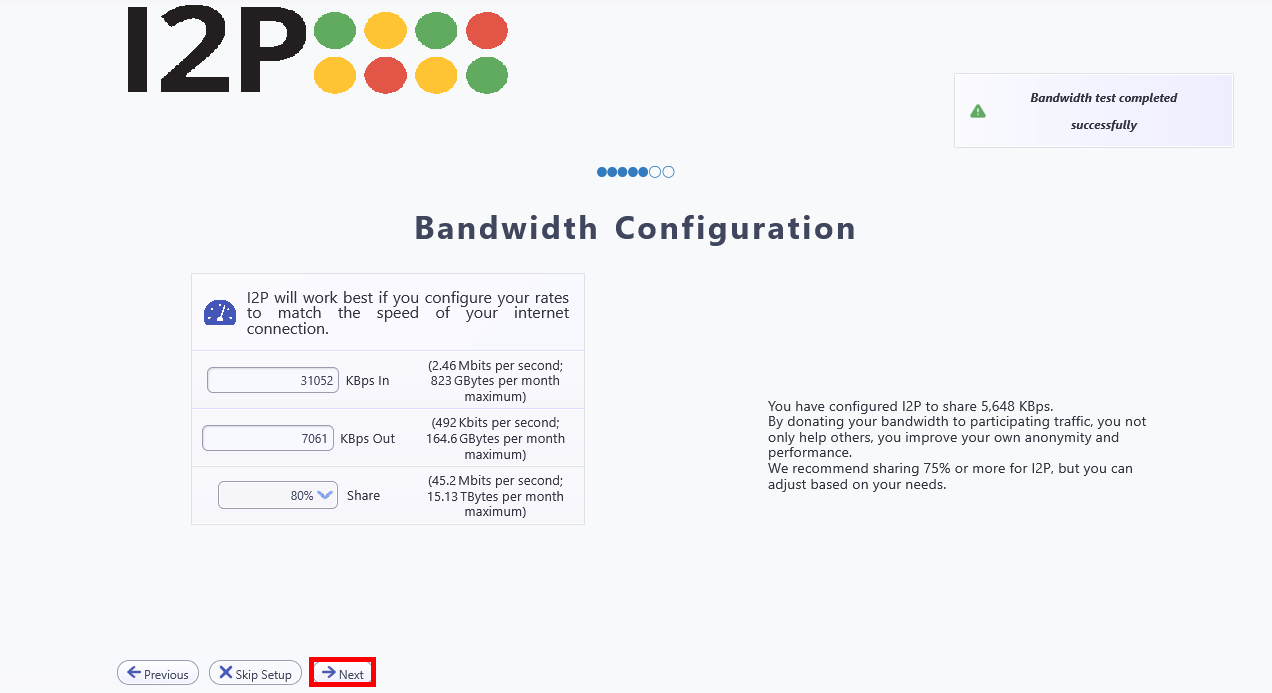
- Review the bandwidth configuration, adjust the values if needed, then click Next to continue:
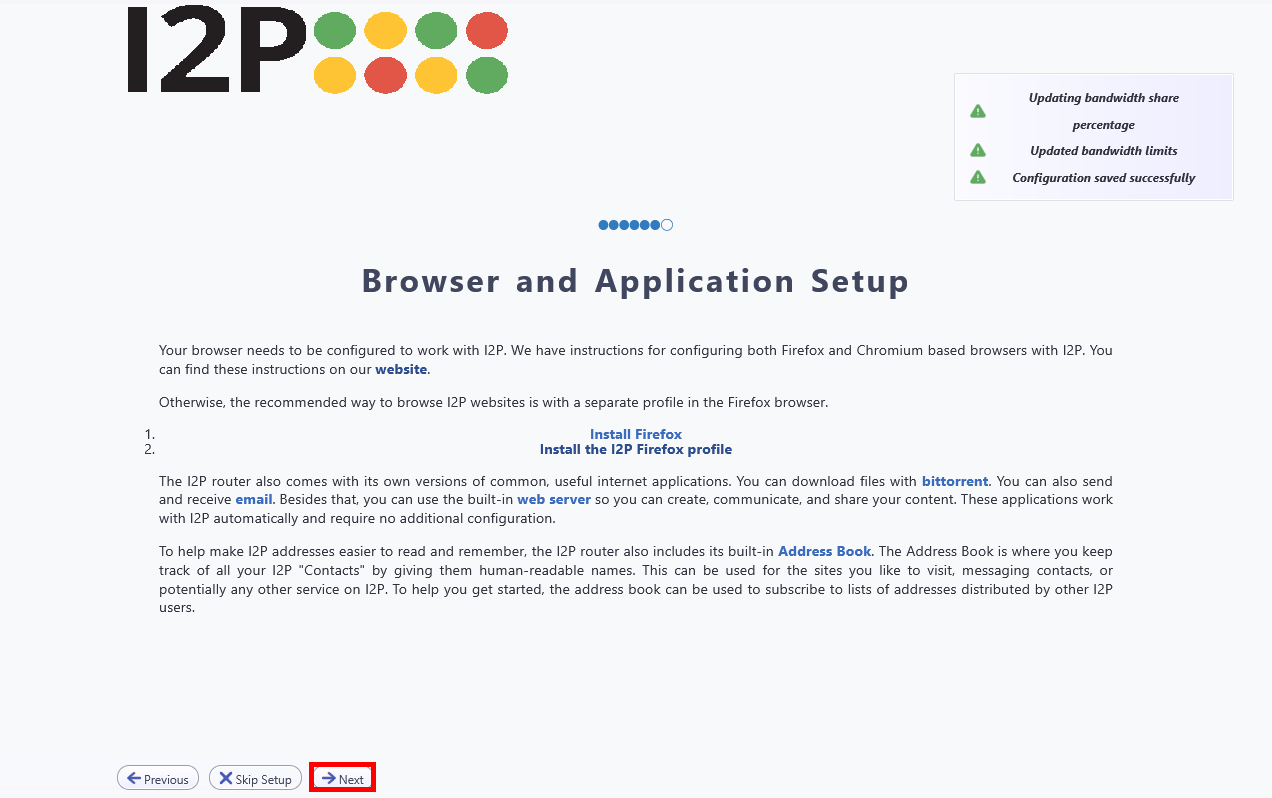
- We will configure Firefox manually later in this guide. For now, click Next to continue:
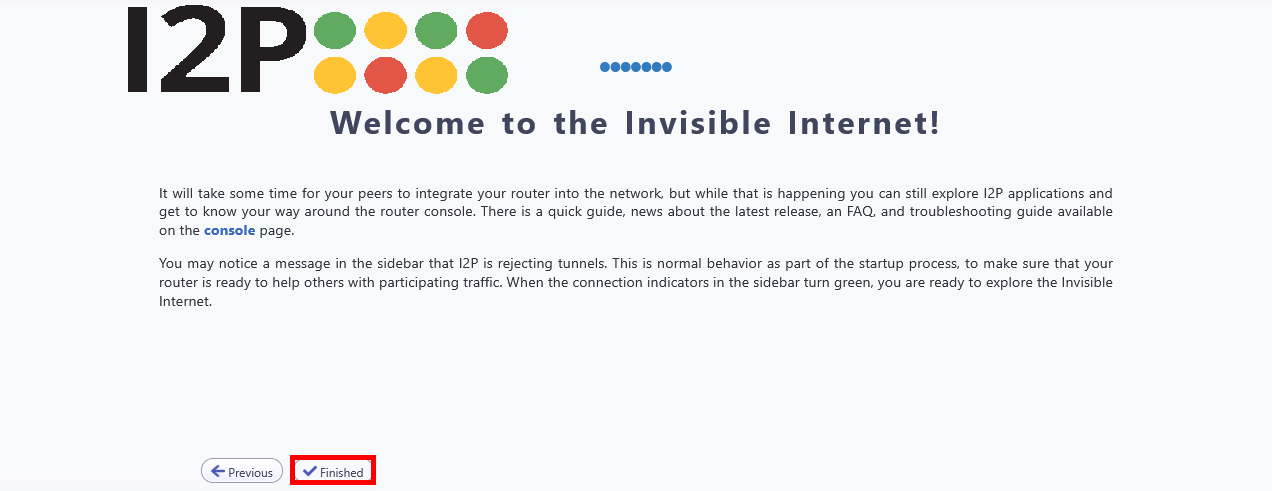
- Once the setup wizard is complete, click Finished to open the I2P Router Console:
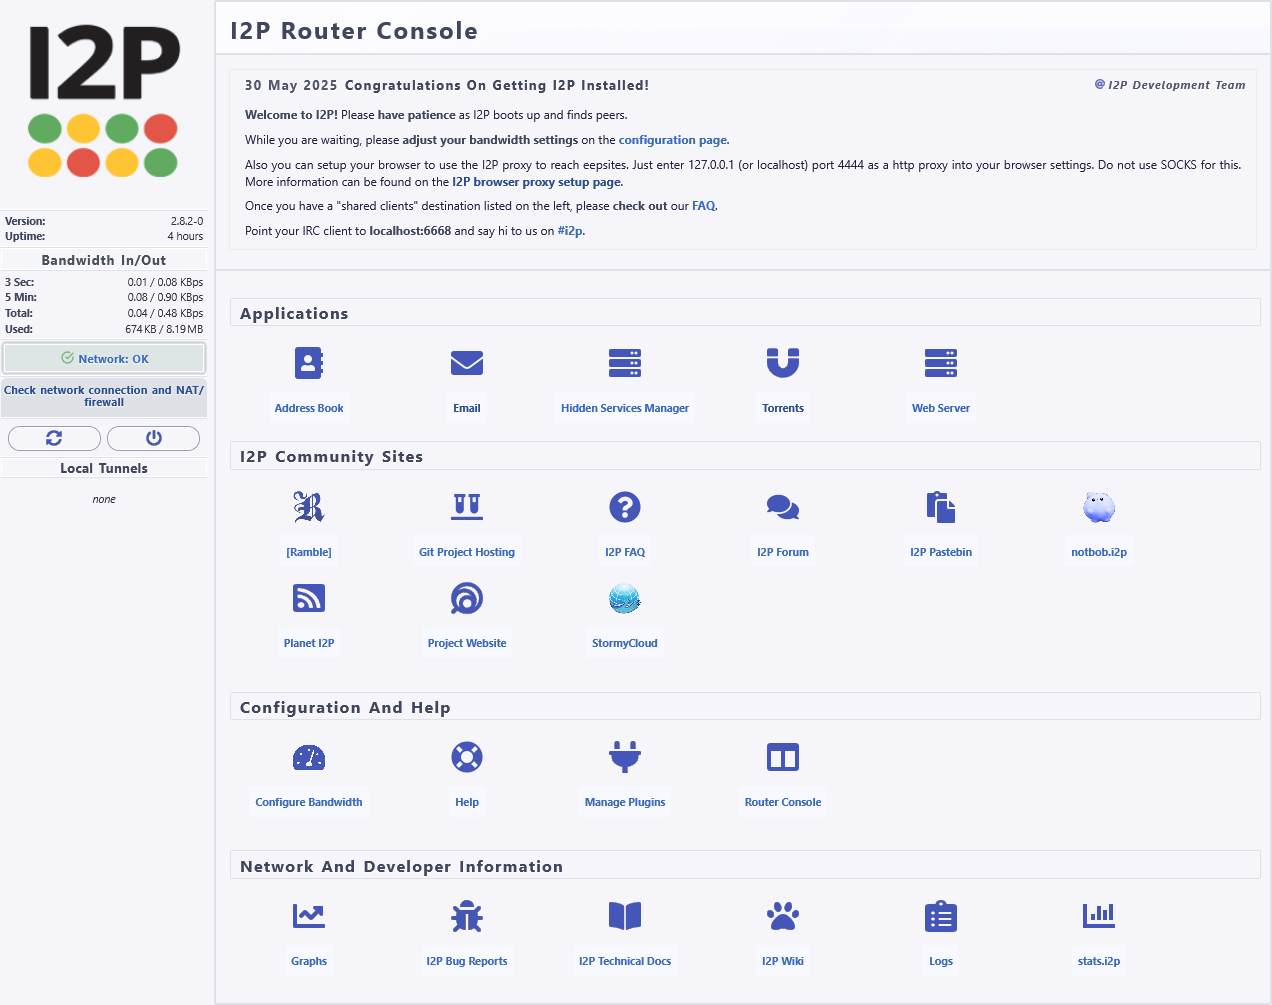
- Once the setup is complete, the main I2P Router Console dashboard should appear:
Port Configuration
In this section, we will identify or configure the UDP and TCP ports used by I2P. These values will be needed later to configure port forwarding and the Windows Firewall rules correctly.
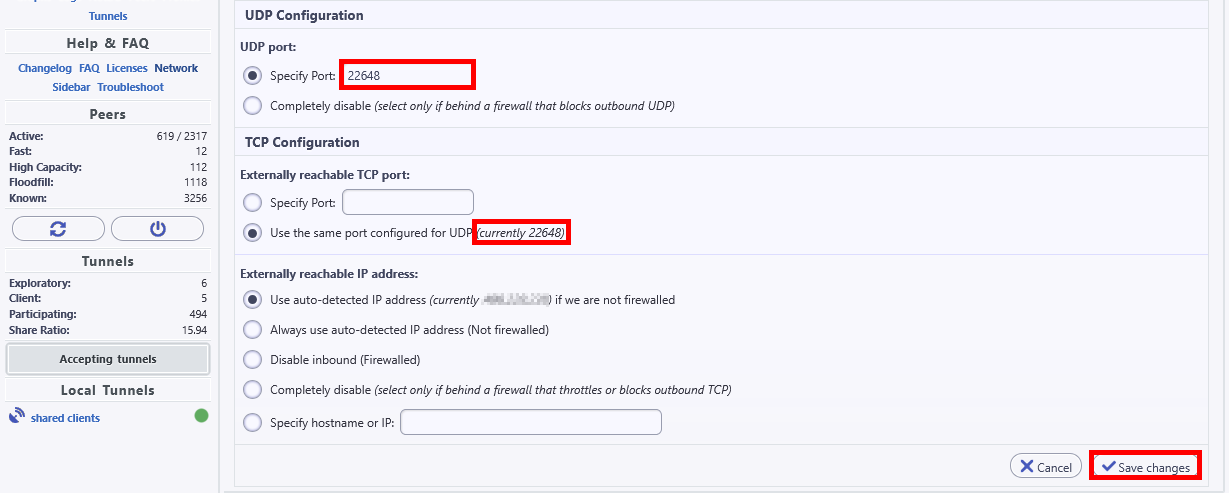
- Go to Configuration > Settings > Network, or open
http://127.0.0.1:7657/confignet. Note the UDP port and the TCP port used by your I2P router (for example,22648):
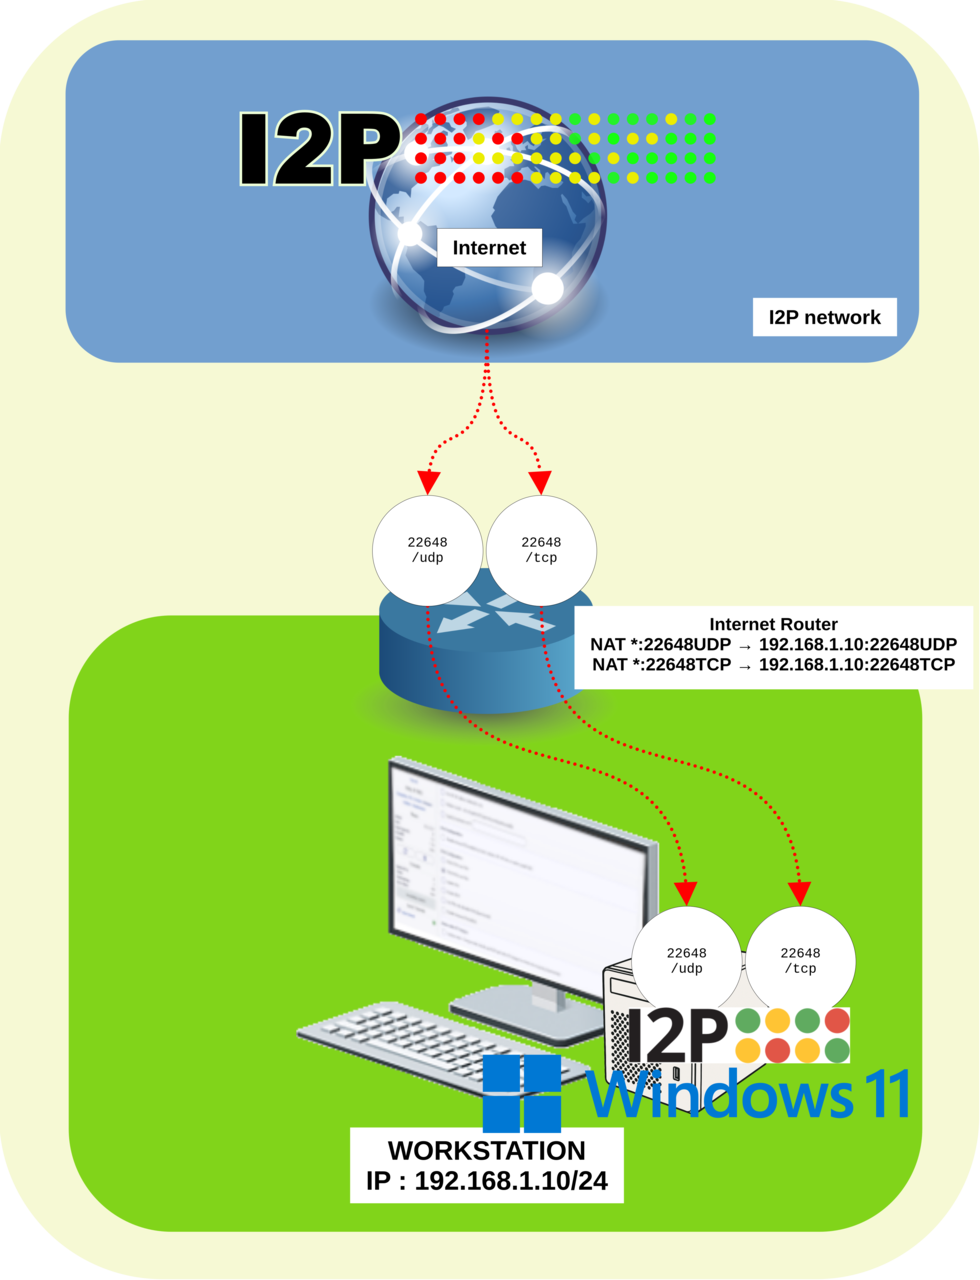
- Once your
UDPandTCPports have been identified (or modified), you should configure your Internet Gateway to performNATand forward these ports to the internal IP address of the workstation running your I2P router. For example, here I forward UDP and TCP port22648to the IP address192.168.1.10:
Windows Firewall Configuration
The next step is to allow the required inbound traffic through Windows Firewall so that the I2P router can accept incoming connections.
- Create inbound firewall rules for the following:
- The UDP port configured earlier (
22648in this example) - The TCP port configured earlier (
22648in this example) - The
java.exeexecutable used by I2P
- The UDP port configured earlier (
You can create these firewall rules either through the Windows Firewall graphical interface or with PowerShell. Both methods are shown below.
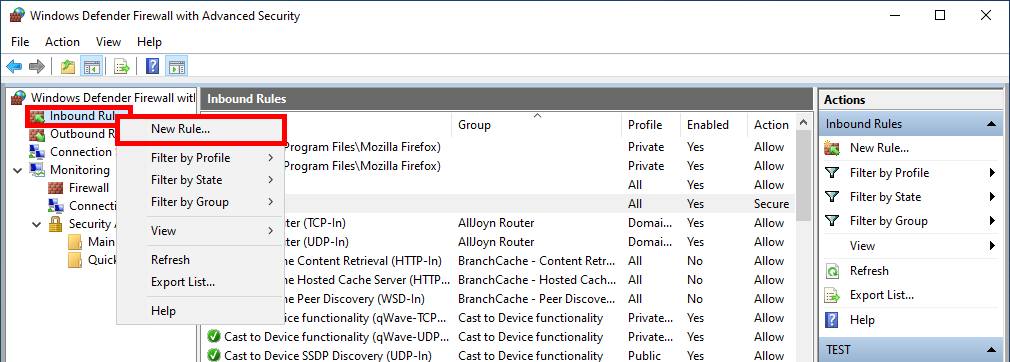
- Open Windows Defender Firewall with Advanced Security, select Inbound Rules, then click New Rule...:
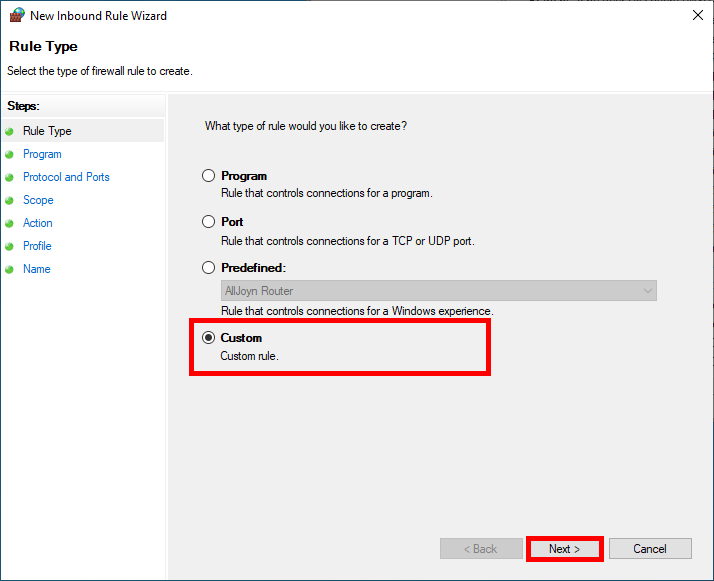
- In the New Inbound Rule Wizard, select Custom as the rule type, then click Next:
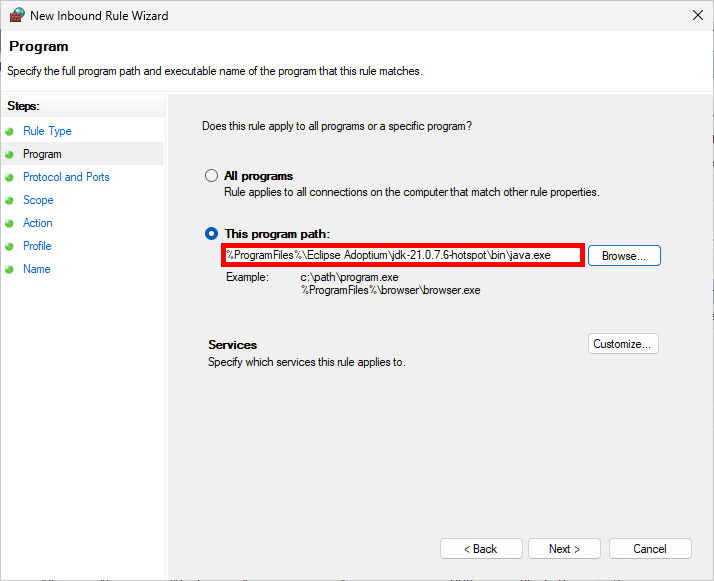
- Select This program path, then click Browse... to locate the
java.exeexecutable used by your Java installation:
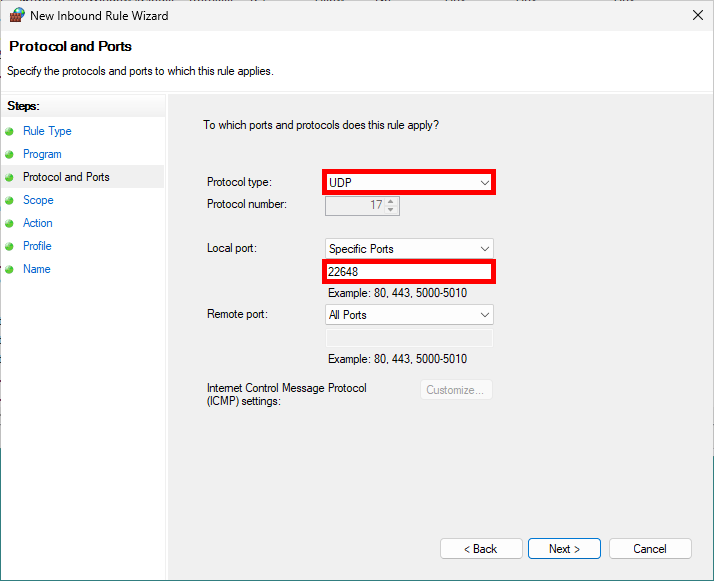
- For the TCP rule, select the TCP protocol, then enter the local port number used by I2P:
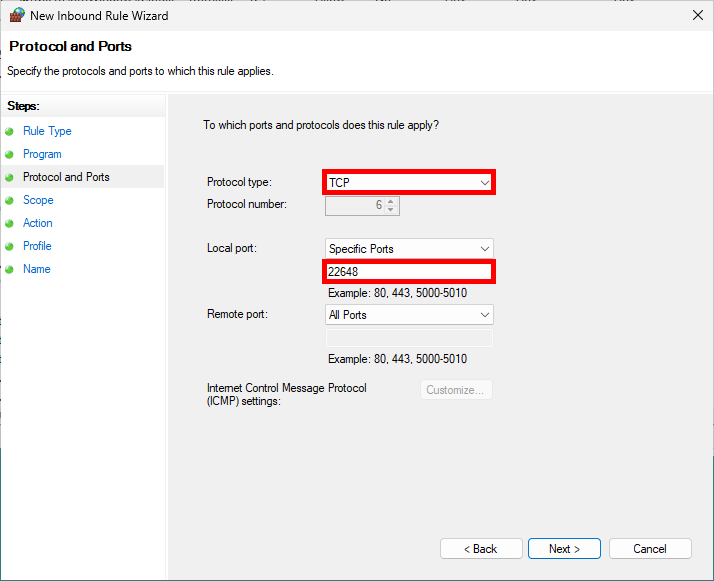
- For the UDP rule, select the UDP protocol, then enter the local port number used by I2P:
Configure Windows Firewall (PowerShell)
- Open PowerShell with administrative privileges and run the following commands:
PS C:\> New-NetFirewallRule -DisplayName "I2P_UDP" -Direction Inbound -Protocol UDP -LocalPort 22648 -Action AllowPS C:\> New-NetFirewallRule -DisplayName "I2P_TCP" -Direction Inbound -Protocol TCP -LocalPort 22648 -Action AllowPS C:\> New-NetFirewallRule -DisplayName "JAVA" -Direction Inbound -Program "%ProgramFiles%\Eclipse Adoptium\jdk-21.0.7.6-hotspot\bin\java.exe" -Action AllowCheck Network Connectivity
Once the configuration is complete, verify that your I2P router can properly connect to the I2P network.
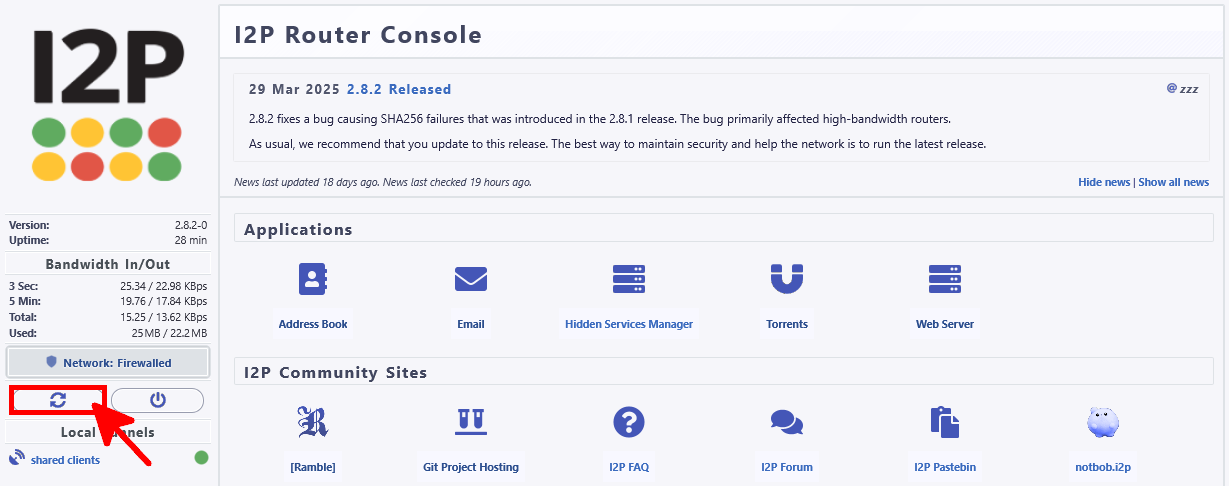
- From the I2P Router Console, click the restart button to restart the router:
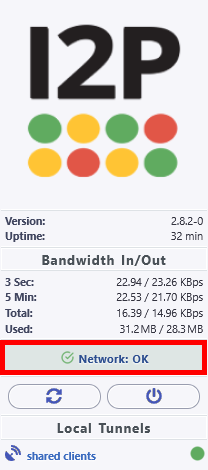
- After a few minutes, once the I2P router has restarted and connected to peers, the network status should display OK:
Configure Firefox
Now we will configure Firefox to access websites and services through the I2P network.
Firefox Profile (Optional)
It's not required, but I recommend creating a new Firefox profile. This will allow you to easily switch between your regular configuration and the I2P network.
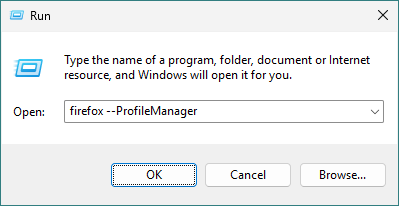
- Open the Firefox Profile Manager by pressing Win + R, entering
firefox --ProfileManager, and clicking OK:
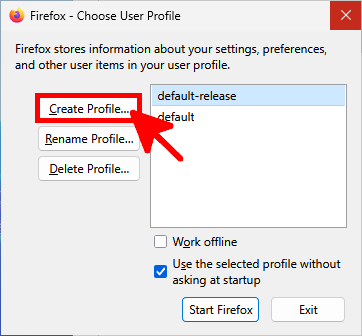
- Click Create Profile… to start the Firefox profile creation wizard:
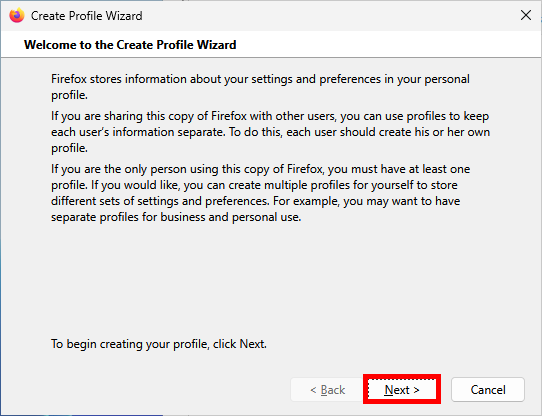
- In the Welcome screen of the Create Profile Wizard, click Next to continue:
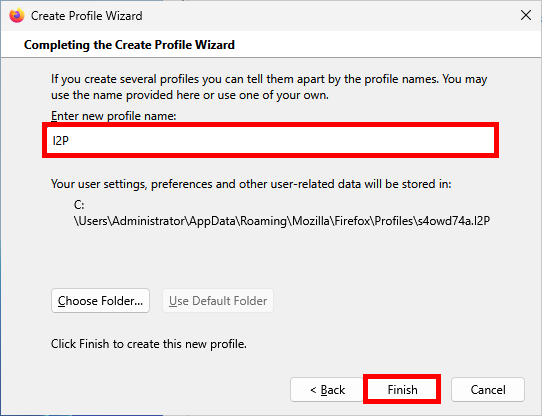
- Enter a name for the new Firefox profile, then click Finish:
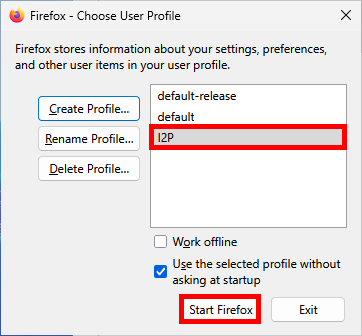
- Select the newly created Firefox profile, then click Start Firefox to launch the browser:
Configure Firefox Proxy
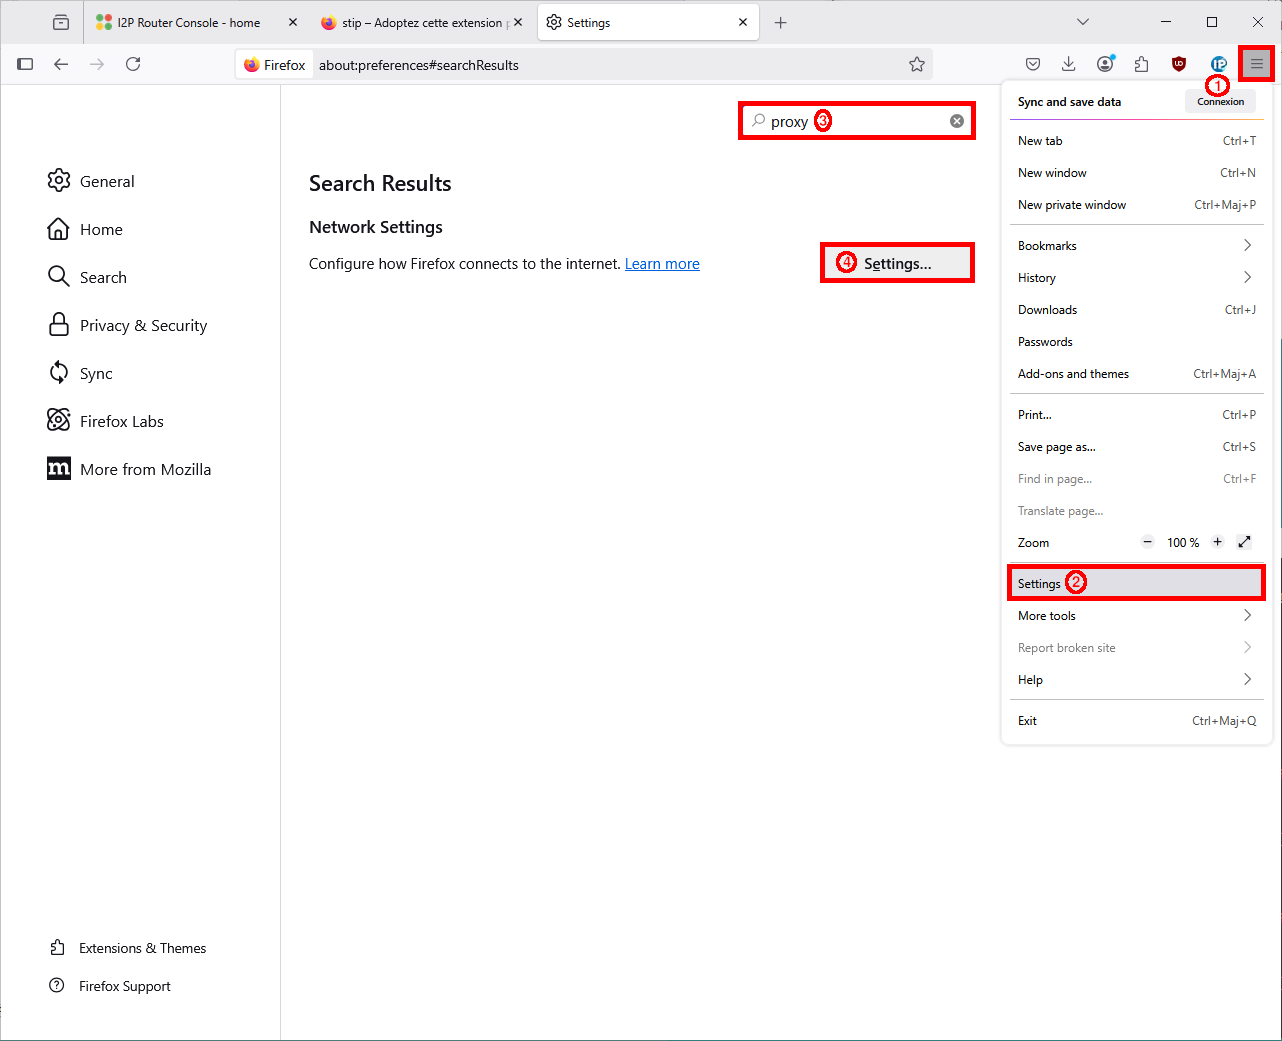
- Open the Firefox menu(1), click Settings(2), search for proxy(3), then click Settings...(4) in the Network Settings section:
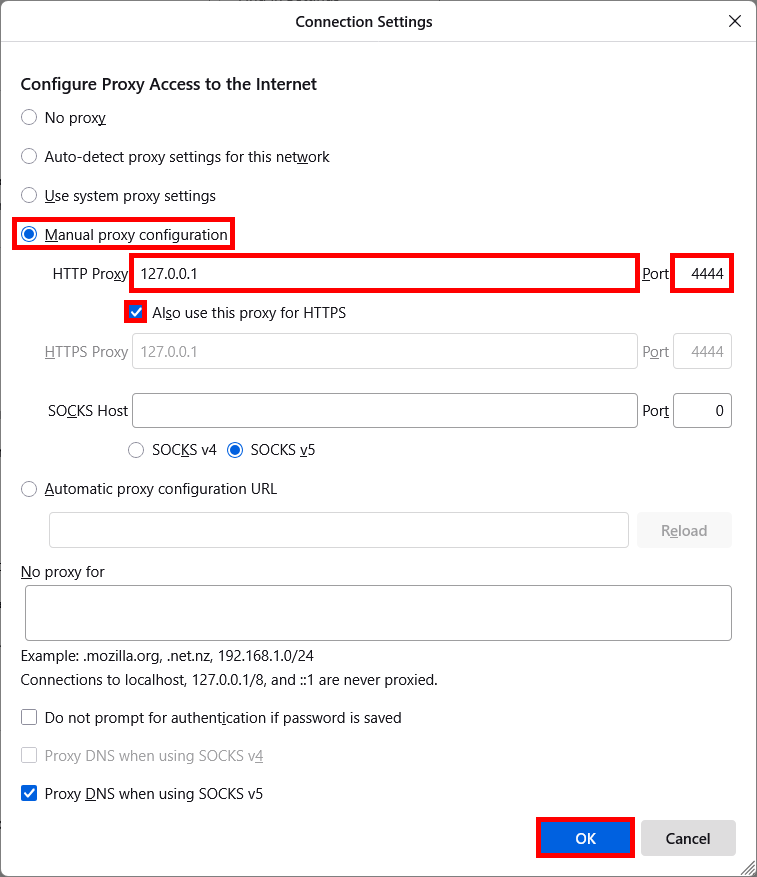
- Configure the Connection Settings as shown below, then click OK:
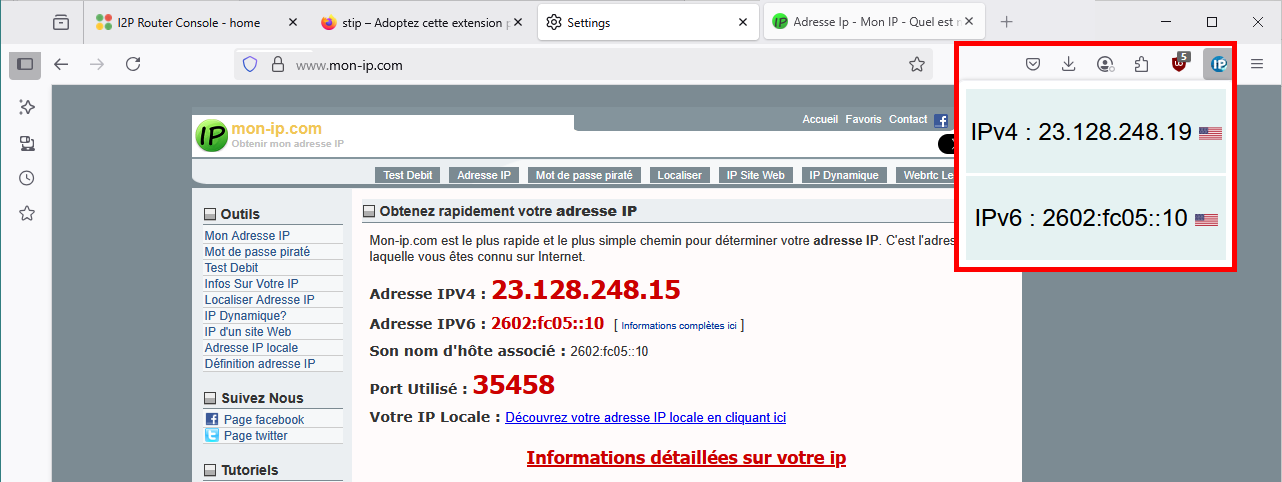
- Once the proxy settings have been configured, you can check the public IP address seen by websites using an IP address checker. In this example, I use ShebangTheIP 😇) together with an external IP checking website: